Broke a screw in fiberglass while installing AC port plug

Joel_CA

Member
Sep 15, 2013
112
Norcal
Boat Info
1998 Bowrider 210
Engines
5.0 Mercuriser/ Alpha 1
Hi guys and gals,

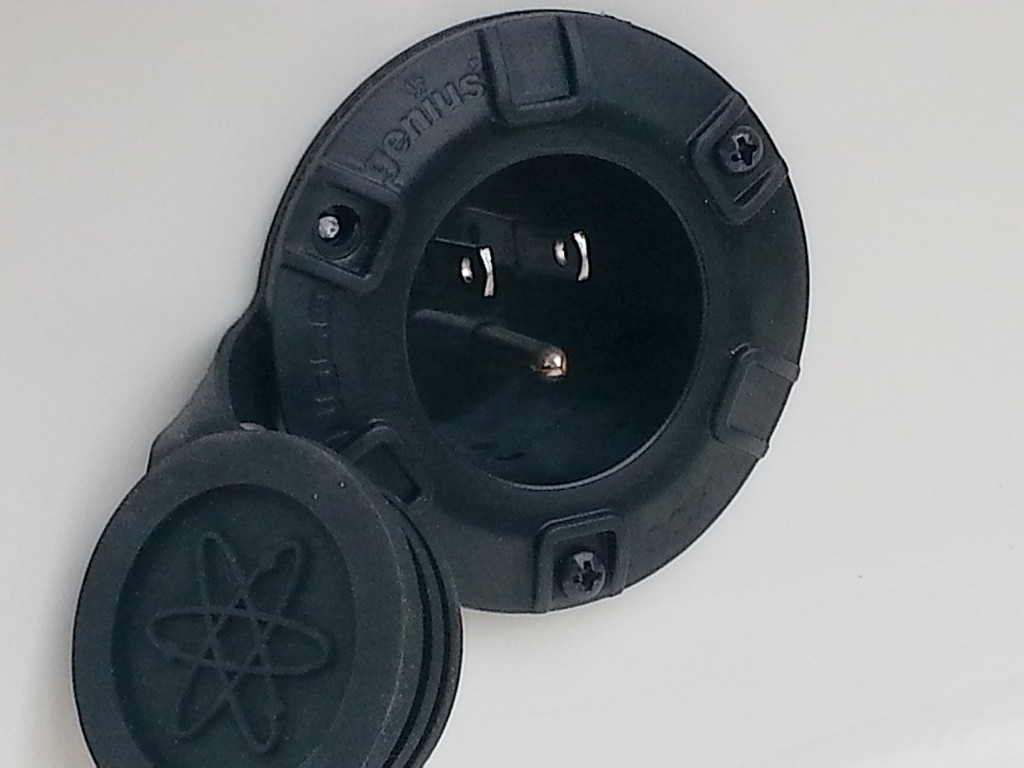
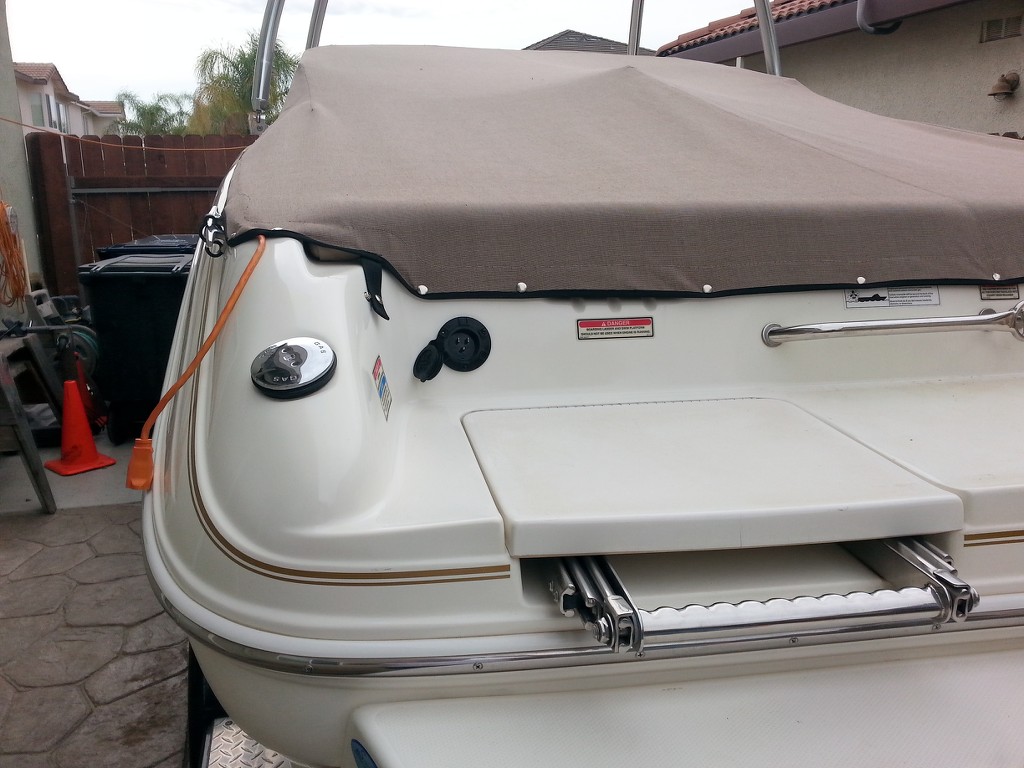
Im not sure if im in the right forum, but I was hoping some of you that might be in the middle of rebuilding, or have completed a rebuild, might have any experience with this. I was installing my new onboard battery charger (MinnKota MK 210D) and AC port plug (Noco Genius GCP1) when I ran into a little bit of trouble near the end of the installation. I had everything done and was admiring my new additions when I decided to replace the black screws that came with the GCP1 with some stainless steel screws. When I backed out the first screw, it immediately went soft and snapped in its place. The head sheared completely off. There appears to be about 1/8" of it still sticking out for me to work with but I won't know until I remove the other 2 and see whats left. Im expecting the same result with the remaining two screws. Any pointers on how to extract the broken screw(s) ? I was planning on taping off the area with masking tape and perhaps using a pair of vise grips and wishing for the best. Im just hoping someone can chime in on a less barbaric method that might be more of a sure thing. Any advice will surely be appreciated.

Joel

9ajy.jpg


wee9.jpg


mswz.jpg
 
Can you get to the back side of where the screw is?

I can get to the back side of the entire area, but the the mounting screws didn't go all the way through the fiberglass. That part above the factory swim platform is about 1/2" thick of glass.

Joel
 
Last edited:
Well, that's probably the way I'd go at it - at least at first. There's some other methods I might try, but honestly... Remove the other screws and rotate the inlet to cover the screw holes (silicone) and reinstall.

You may not have drilled the pilot hole large enough for fiberglass. It needs to be slightly larger than the shank.

Question... Are those screws, by chance, painted SS or aluminum?
 
They are definitely not aluminum as the broken screw head is drawn to a magnet. If they are in fact painted SS, then I just dug myself into a hole for no reason at all :smt021. The paint started to chip off when I screwed them in and since I wasn't sure, so I thought i'd replace them with shiny SS ones that I already have in my tool box. You are definitely right on with my pilot hole being too small. Im gonna go ahead and remove the other 2 and see what happens. Hopefully, I'll just have 1 broken screw to deal with. I will use your advice about rotating the unit to cover the other screws as a last resort. Rotating the cover will also rotate the prongs and that will really bother me if its not level.

Joel
 
looks like it's not flush with the fiberglass? remove the receptacle and try grabbing it with needle nose vice grips,
 
That's correct - lesser grades of SS are slightly magnetic. But they still shouldn't feel as "magnetic" as normal steel screws.

If you rotate it (if needed) 180* it'll still look pretty.

When you remove the screws, and after adjusting the pilot hole size, be sure to chamfer the hole to avoid spider cracking.
 
Last edited:
After carefully working them back and forth, the remaining 2 screws backed out without any problems. The broken screw however, put up a pretty good fight with my vice grips before breaking again- but this time, it broke flush. After reviewing my options, I found that the 2" center hole that I drilled out for the housing allowed enough play where I could just lower the unit slightly and drill 3 new slightly larger pilot holes while still fully covering the original 2 holes and the broken screw. I put a light coat of 4200 on both sides of the rubber seal and proceeded to use 3 new shiny ss screws to mount the AC port. Crisis averted! I'd like to thank each and everyone of you for sharing in your experience.

Joel
 
Joel, Boltman here ..... If the screw head is magnetic it's not SS , it's painted steel . Only 410 SS is magnetic and they only use that grade for self drilling screws . Back your other screws out with a hand screw driver NOT a power tool, this will minimize the torque you are applying too the Head. Once you have them out clamp onto the broken screw with vise grips careful not to squeeze to hard and break it. Then if you are going to turn and drill different holes use a #8 screw and use a #29 drill bit. This should do the trick but remember standard marine grade stainless fasteners are 18-8 grade 304 stainless steel , soft so go slowly and don't strip the head .
Too late I see sorry

Boltman
 
Boltman- Thanks for the information regarding SS screws. I feel better now knowing that it was actually a good idea in replacing the original black screws and that I didn't just create more needless work for myself. My setting of the vice grips too tight might have been the cause of that one screw breaking. It didn't want to budge in either direction and finally broke after going back and forth several times. Im just glad it broke flush.

Joel
 
Bolt - even some 18-8 are slightly magnetic. Not like regular steel, but still somewhat magnetic. I've had them in my hand numerous times like that. This, however, isn't to say that Joel's screws are or are not SS.

Joel - glad you got it figured out.
 
If they are slightly magnetic them they are not 18-8 they are 316 SS this has a slight make up of alloy carbon steel in it . But 316 is also more rust resistant then 18-8.


Boltman
 
If they are slightly magnetic them they are not 18-8 they are 316 SS this has a slight make up of alloy carbon steel in it . But 316 is also more rust resistant then 18-8.


Boltman

I won't argue metallurgy - certainly not my forte. All I can say is I've had screws labelled "18-8" many times over the years turn out to be slightly magnetic. Maybe mislabeled, maybe lesser quality?
 
Question: What are the differences between 18-8, type 304, and type 316 stainless steels?
Answer: To answer this question, you first need to know some basic information about stainless steel. “Stainless Steel” is the general name for a large family of alloy steels that contain at least 10.5% chromium as part of their composition. At and above this level of chromium, a complex chrome-oxide surface layer forms that prevents further oxygen atoms from penetrating into the steel and thus protects the iron in the matrix from rusting. This layer is what makes the steel “stainless.” Higher levels of chromium and the addition of other alloying elements such as molybdenum and nickel enhance this protective barrier and further improve the corrosion resistance of the stainless steel. There are many different types of stainless, but by far the most popular and widely used are the 300 series stainless steels, also known as the austenitic stainless steels.
The 300 series designation contains many different compositions of alloy steel (303, 304, 305, 316, 321, 347, etc.) but the common factors among them are:

  • Their carbon content is generally held to a maximum of 0.08%
  • They (generally) have 18% chromium
  • They (generally) have 8% nickel
  • They are non-magnetic
  • They cannot be hardened by heat treatment
  • They can be hardened by cold working the material (“work hardening.”)
The term “18-8″ is often used to designate products made from 300 series stainless. This “18-8″ call out is referring to the 18% chromium/8% nickel alloy mixture of the steel. “18-8″ is not an actual specification, as it only refers to two different alloys in the steel. While all 300 series stainless steels share this 18/8 mix, slight differences in chemical composition between the different grades of the 300 series do make certain grades more resistant than others against particular types of corrosion. In the fastener industry the term “18-8″ is often used as a designation for a bolt, nut, or washer manufactured from 300 series stainless steel material that has the 18% chromium/8% nickel alloy mixture. However, a fastener manufactured from stainless material that meets the 18/8 alloy mix does not necessarily meet the other slight differences in chemistry required to certify it as Type 304 stainless. Type 304 is by far the most popular of the 300 series stainless steels.
The second most popular type of stainless, after Type 304, is Type 316. In Type 316 stainless, the chromium content is lowered from 18% to 16%, however, the nickel content is raised to 10% and 2% molybdenum is added to the mixture. This change in the chromium/nickel ratio and the addition of the molybdenum increases the resistance to chlorides. This is why Type 316 stainless is often used in more corrosive environments where the material will be exposed to chemical, solvent, or salt water corrosion and makes it the preferred material for marine construction.
Although fasteners can (and often are) ordered as simply Type 304 or Type 316 stainless, the actual ASTM specifications that cover stainless steel fasteners are A193, A320, and F593.
- See more at: http://www.portlandbolt.com/faqs/18-8-304-and-316-stainless-steel/#sthash.gfTZmurD.dpuf
 
Thanks for the post Woody, very educational. I new just a bit about stainless steel fasteners, and your post was a mini education. Love reading posts such as these. Very helpful.
 

Forum statistics

Threads
113,163
Messages
1,427,599
Members
61,072
Latest member
BoatUtah12
Back
Top