410 Electrical Gurus.
I have a both a cockpit and cabin fridge that are AC/DC. They will be using the new BD35 compressors.
On the AC side - are both fridges fed off the 15A Refrigerator/Freezer breaker on AC line 1 on the Main Panel?
On the DC side - are both fridges fed off of the 15A DC breaker on the DC panel? I'm not sure the DC power to the cockpit fridge was standard (as the might have been an AC only ice maker there originally).
The DC side is going to be more important as I'm now going to be trying to run 3 compressors on the DC side, each pulling around 4.2 running amps.
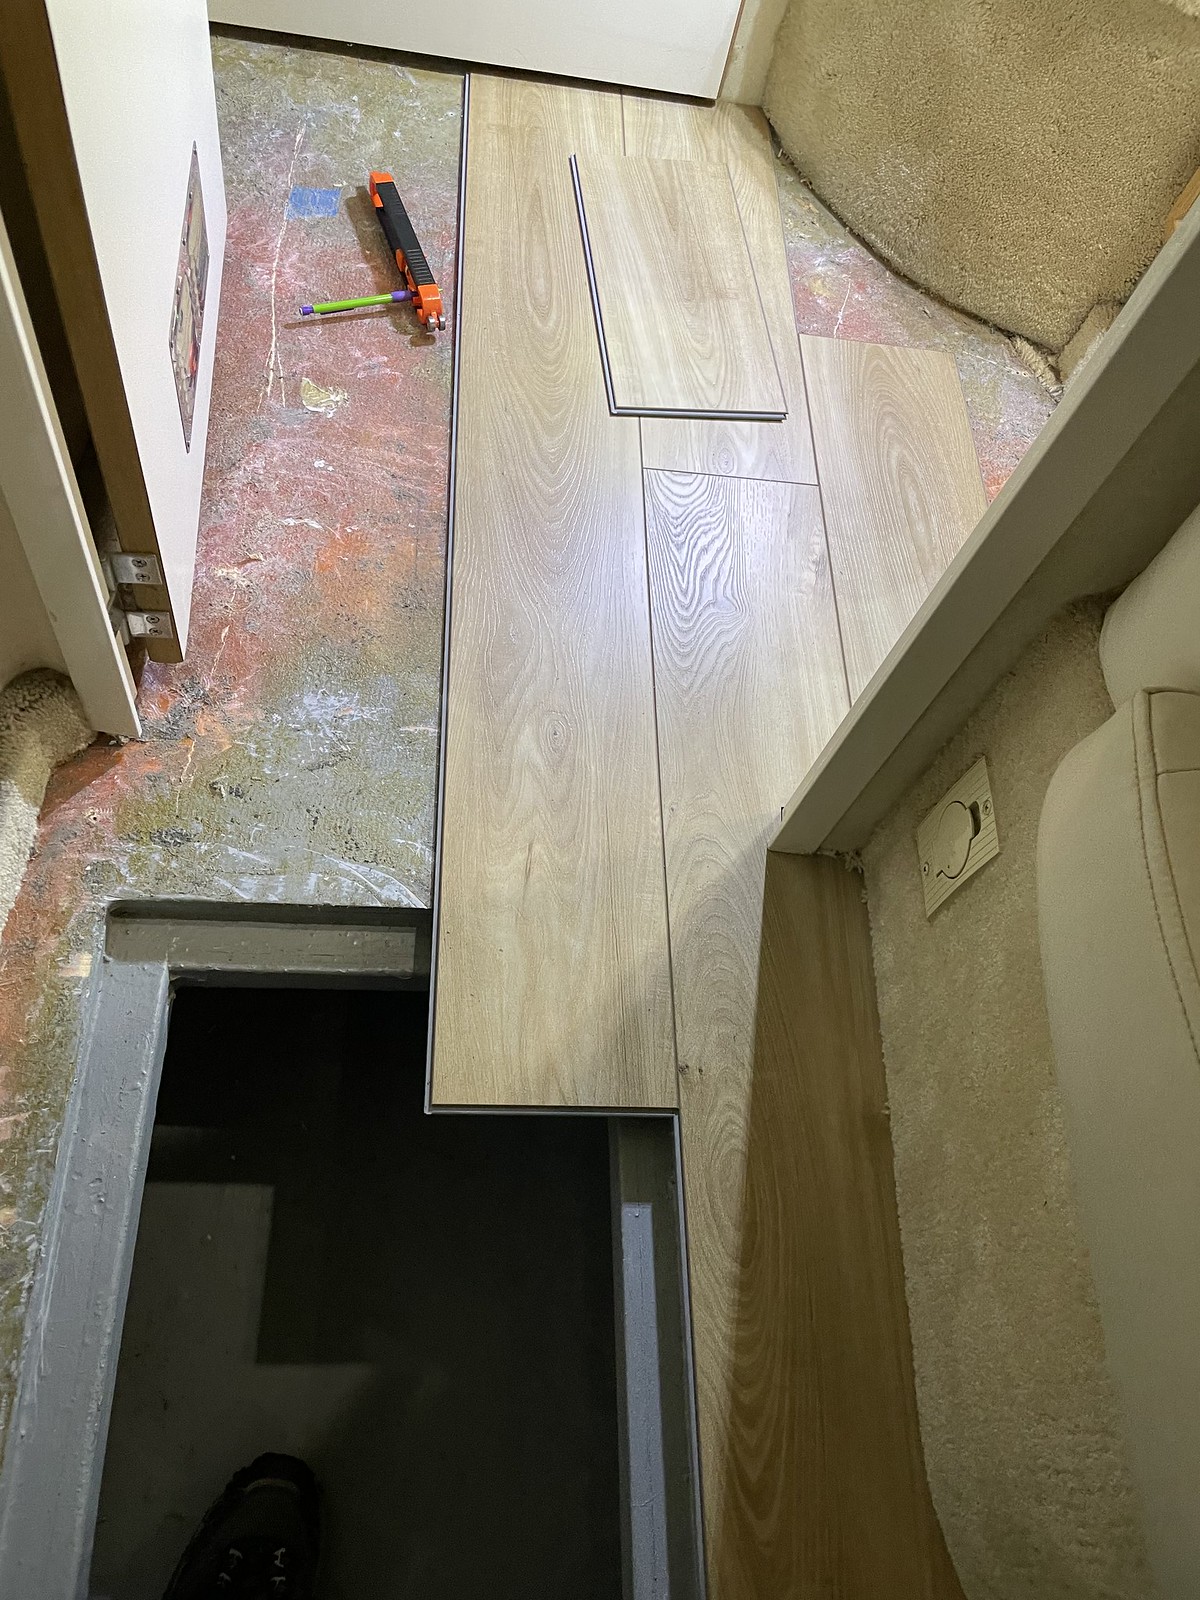
Trying to plan this out. Owners manual schematics, not very clear or detailed.
definitely not an electrical guru but I do believe mine are both fed from the same breaker (ours was fridge up top from the factory)
maybe throw a clamp on the wiring behind the breaker and cycle each one on independently and see if they’re pulling from there to confirm? Mine both come on as soon as I flip the breaker