76 SRV 200 Project

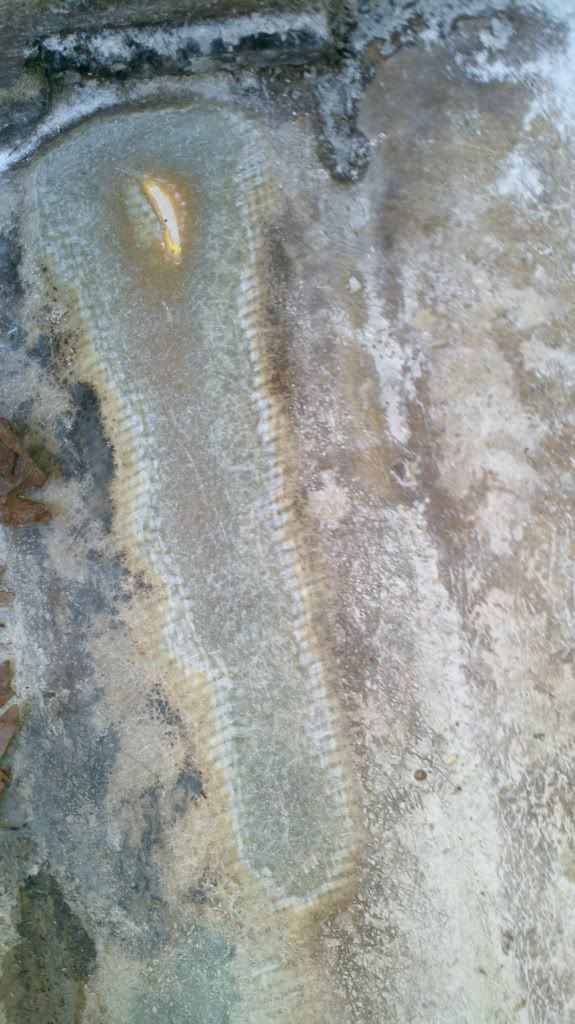
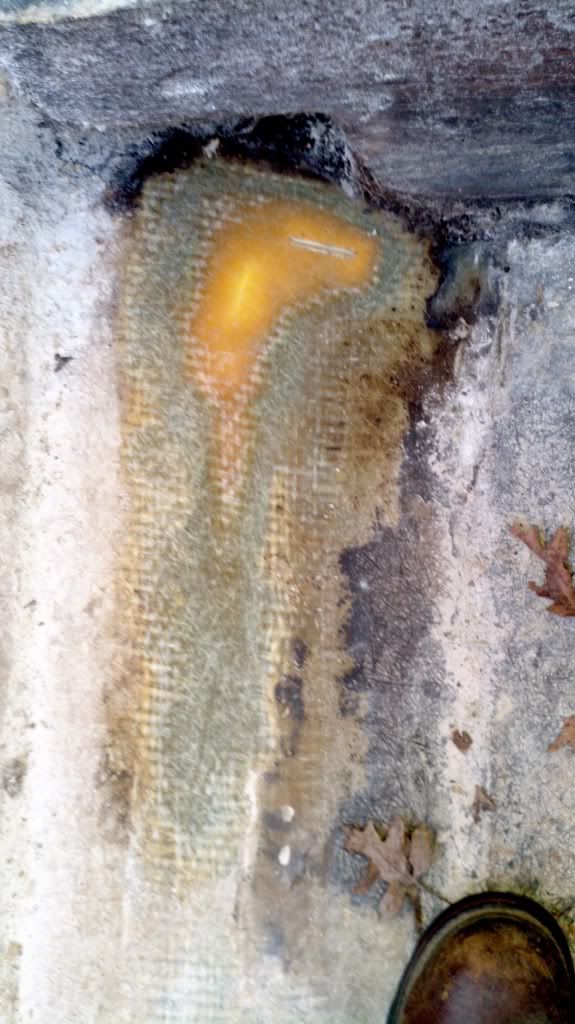
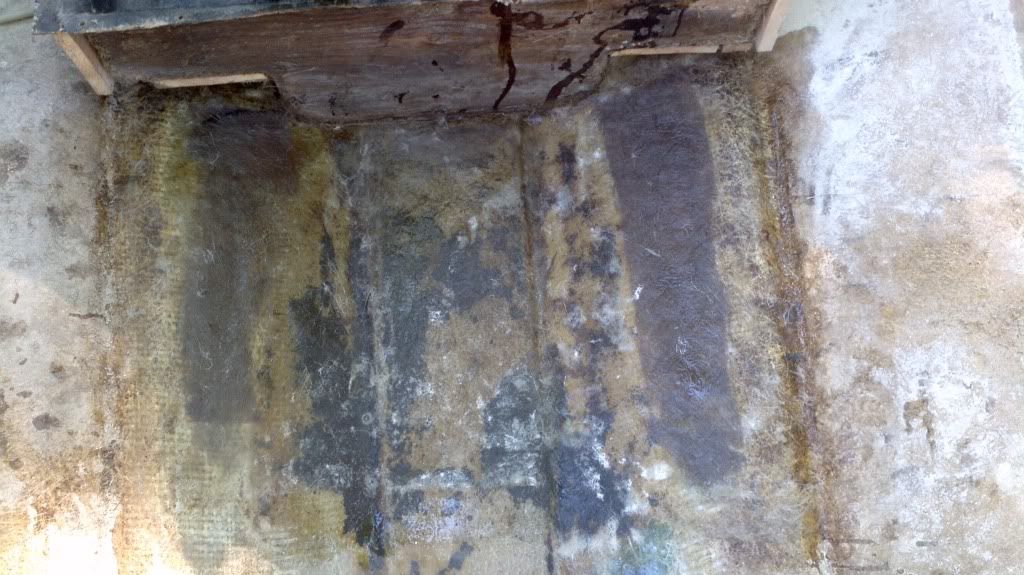
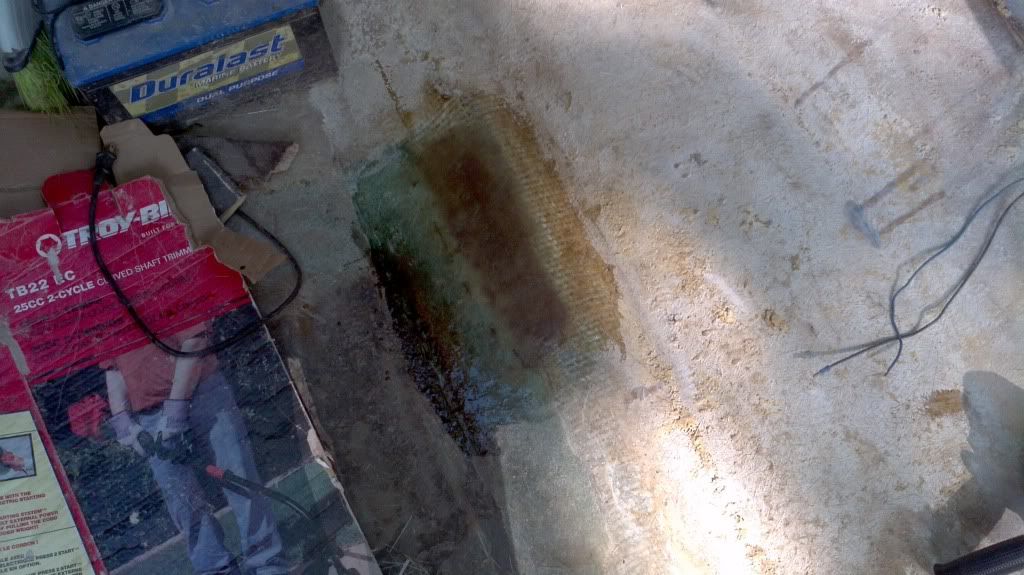
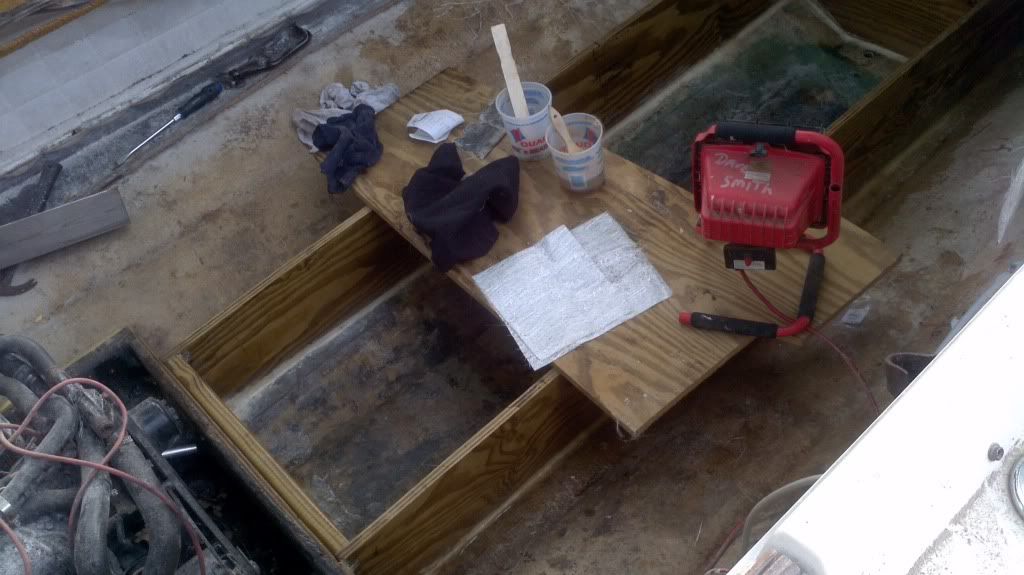
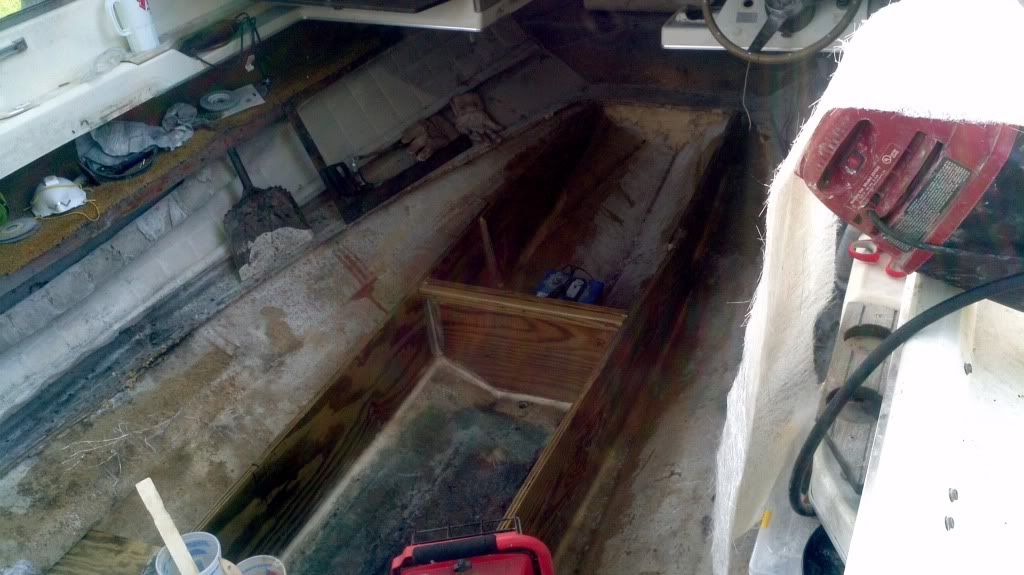
While I have been waiting for a helping hand I decided to finally get around to checking into the motor mounts and transom. Boy am I glad I did. The transom is perfectly fine, drilled 10 holes in it all around and the wood is dry as can be. The motor mounts however were quite a different story. The starboard side of the engine was completely non existent. If you know what the structure below the bilge area looks like, just imagine that minus the plywood! Literally nothing but black mush. The port side was a little bit better, the wood is completely rotten but it is well on its way. Also just a little fact that I learned, the engine mounts were nothing more than 6 pieces of 3/4x2"x8" of plywood stapled together and then stapled to the outside piece of plywood. I am sure pics wold help right now, but my hands were way to nasty to touch my phone. I'll get some tonight if the weather cooperates.

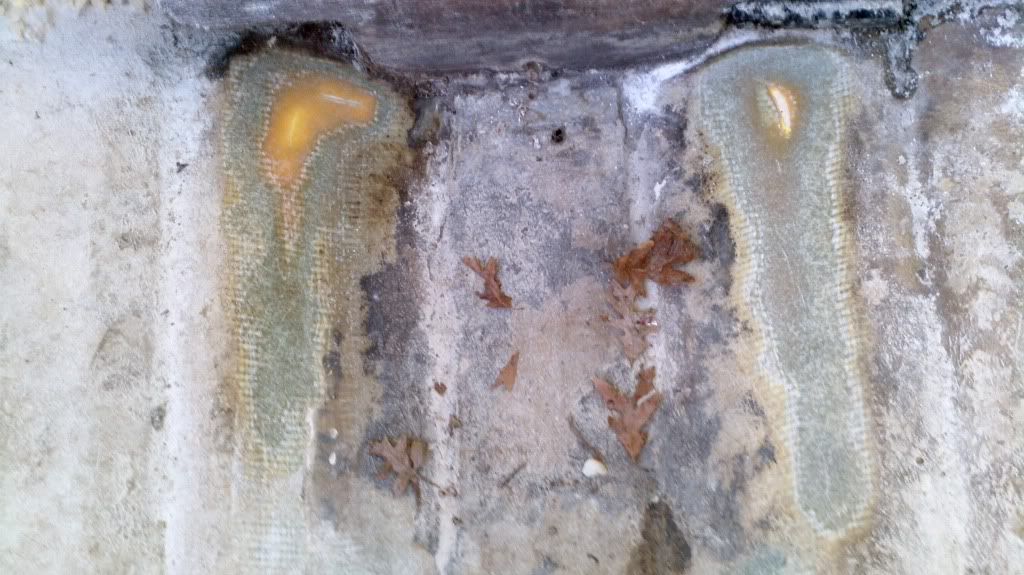
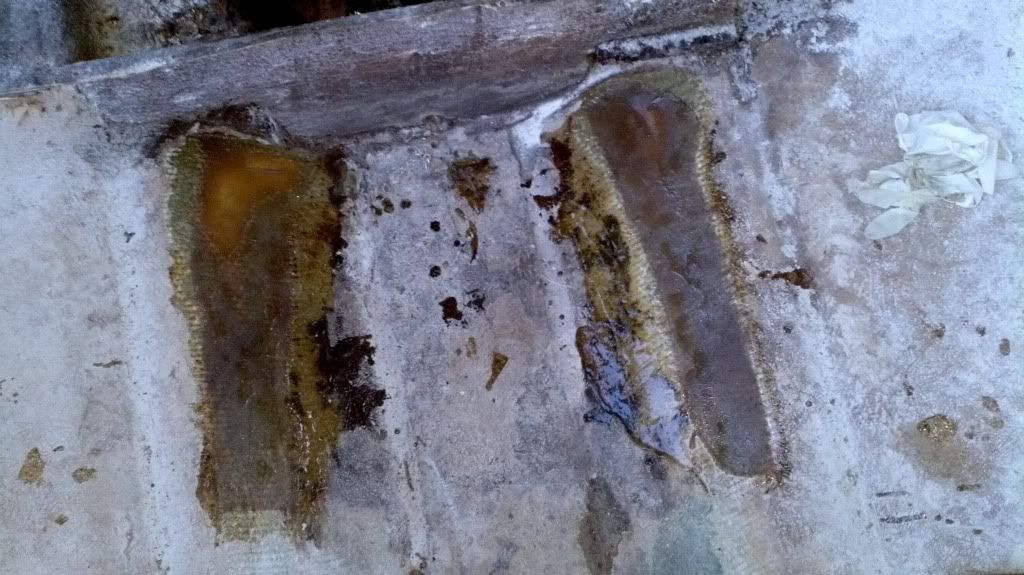
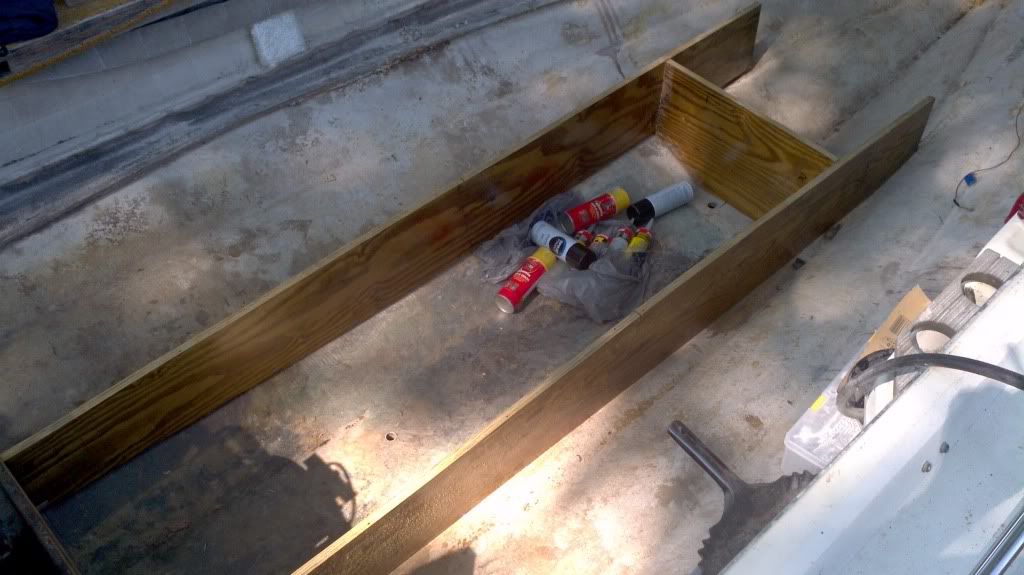
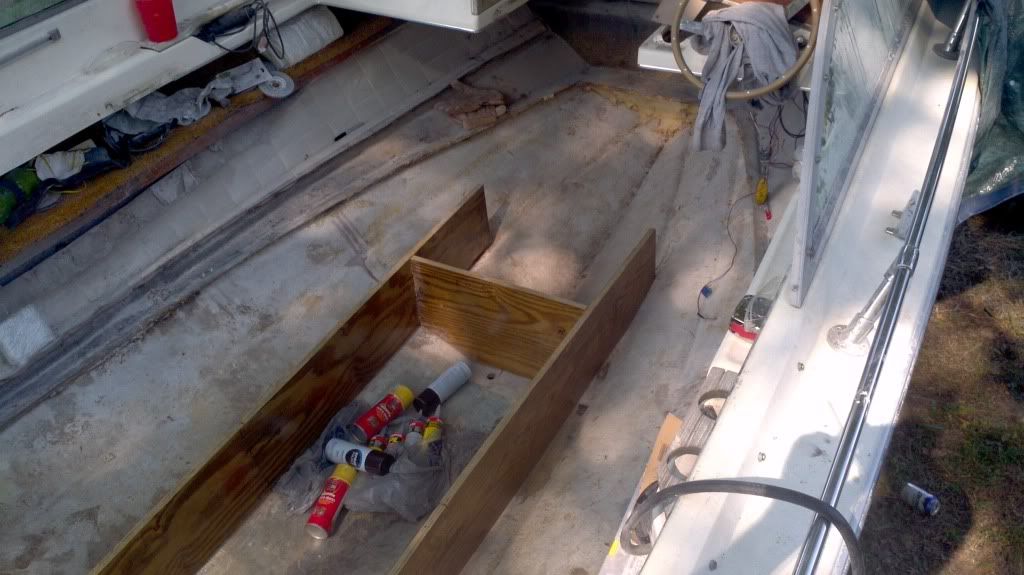
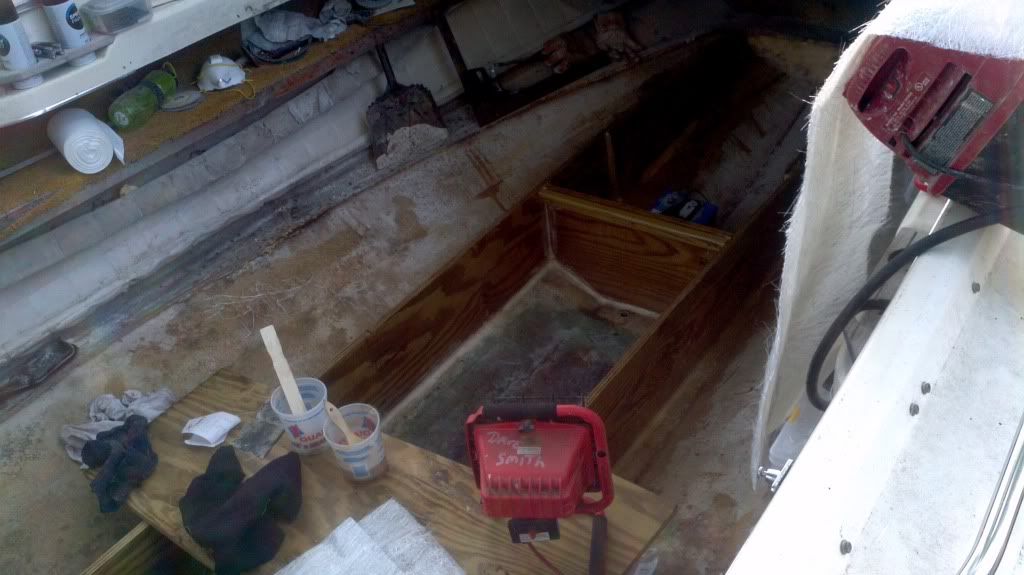
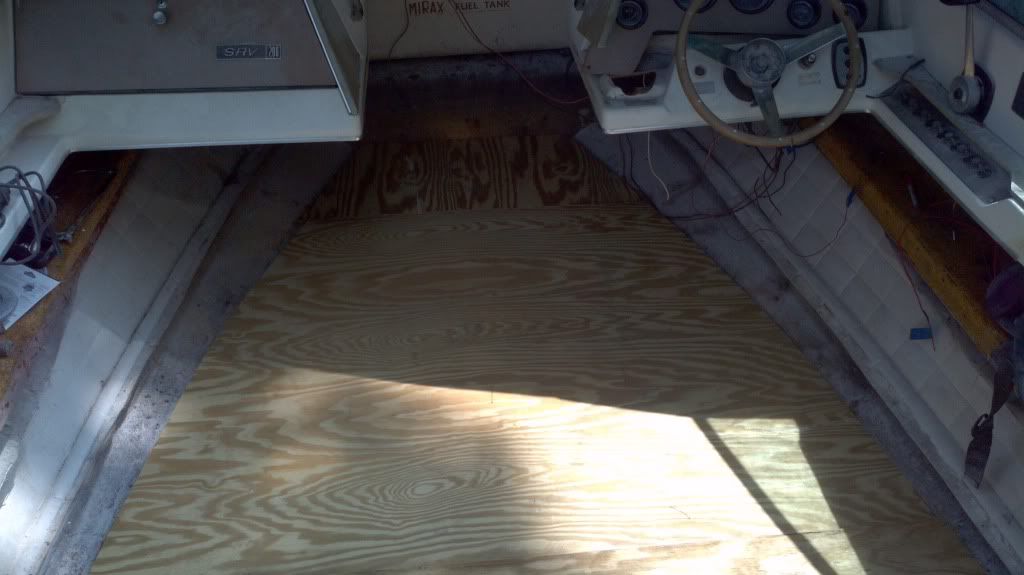
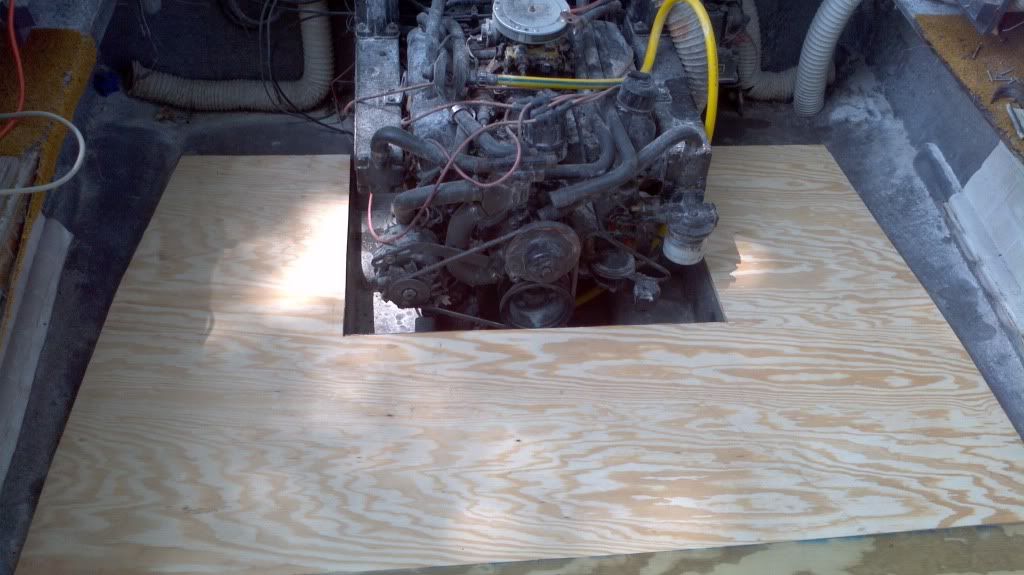
So my next step is to engineer some type of motor mount system. I was really shocked that the wood structure doesn't really do much for the mounting other than provide a place to fiberglass around. The fiberglass in that area is about 1/4" thick, so I am assuming that is it providing the majority of the structural integrity. I am planning on replacing the cheesy plywood design with something more solid and also encapsulated in resin. I also plane to replace the other support framing and tie it all together into the rest of my project.
 
I promised some pics so here goes...

Pic of hole #1
2011-06-14_20-11-31_700.jpg


Pic of Hole #2
2011-06-14_20-11-26_179.jpg


Shot of both hole together... Notice the location and how thin everything is back there after removing the stringers and just a little bit of what they thought was glass and resin!

2011-06-14_20-12-11_20.jpg


Here is the first coat of cloth and resin.

2011-06-14_20-50-51_681.jpg
 
On the holes... I wanted to get a layer of something (used 1708) in because it was really thin and I need to be moving around in that area to do the motor mounts. I am planning on sanding this down a bit and working the "build up" process. I've marked up this photo for my tentative plans...


2011-06-14_20-12-11_20-1.jpg


Yellow, Red, Green, and Blue in their respective layers. The big problem is the fact that it is really close to the bilge area. I figure for the yellow and red layers I would do a combination layer of mat+cloth, then cloth+mat. For the green and blue I figured I would alternate direction of matting. This method will give me a total of 7 layers at the site of the hole on the inside alone. On the outside I will grind out and put probably another 2-3 layers with a finish coat of duraglass to level off if I need it. I will probably only go 6-7" diameter on the outside with a 2", 4", 6" set of mat/cloth/mat.

Anyone have any other suggestions. I am open for ideas as this is the first time I have fixed a hole in a boat!
 
Last edited:
You're on the right track. You definitely want overlapping layers that start small and increase in size to build up the proper thickness. The correct formula is to measure the thickness of the hull and multiply by 12. For example if you want to get to a 1/2' thickness you need to grind the area to feather it out from the center of the hole to 6" around the hole. So it would look like a dish 6" around the hole. Then by building up overlapping layers from the center out you will get to the 1/2' thickness and it will be strong. You will need more than 7 layers. Start with a very small circular piece of cloth that is about 1/2" larger than the hole. Then add increasingly larger pieces alternating between cloth and matt. Each new layer should only be slightly larger than the last so that by the time you get out to 6" you have reached your thickness. Matt will provide thickness while the cloth gives strength. You want to lay this up all at one time. Lay up several layers then let them begin to set maybe 15 min or so depending on temp and then continue. I would also recommending using Epoxy but I am paranoid when it comes to the hull... Good luck with the repair.

Doug
 
Well I am not exactly sure how thick the hull is because there is so much missing in that area. If I were to guess I'd say 1/4"+. So I think I will use 3/8 for my calculations. I think thats a fair number as I know for sure it isn't 1/2" thick. So provided the formula above (3/8) x 12= 36/8 or 4-1/2". Is this a 4.5" radius or diameter? If I understand correctly is would be a dish shaped hole 4.5" across. I think I can manage that on the one side, but I am pretty sure I can't get it on the other.

Game plan is as follows now...

-Sand down my first layer that I thru in just to keep stuff from cracking and provide a bit of support for my phat arse!
-Dish out a area to 4-5 inches
-Throw a set of 3 layers down
-Rinse and Repeat to desired thickness

Thanks for the advise douglcfl!!
 
So I had a fairly productive weekend considering I had to work Saturday.

Here are the new motor mounts and I guess what you would call a bulkhead.

2011-06-21_22-07-10_491.jpg


The two holes fixed and the other thin spot that I decided to go overboard on.

2011-06-26_17-23-10_656.jpg


2011-06-26_17-23-18_103.jpg


I went with the theroy discussed below. I believe I ended up with 8 total layers. The final layer was a big piece of matting that I used to cover the whole area and about 8" back where the foam under the bilge compartment will be. Trust me that was not fun to #1 get the old stuff out of and #2 rough sand. I used 36 and 50 grit to knock off crap and scuff the original glass. I am still in the internal debate of foam. If I am going to put it in or not! I am open to opinions there... what do you others do?
 
The repair looks good. On the foam I have went back and forth on that. I have used foam in a couple of places on my 73 240 Hardtop. Just make sure that if you use it you seal things up good so no water gets to it. And don't put it next to bare wood as it will hold the water there and the wood will rot.

Looking good...
 
Got some time after our family vacation to get back on the boat. Here's a few pics of my progress...

2011-07-09_16-59-17_921.jpg


2011-07-09_16-59-01_798.jpg


I will be seating them in PL and will round it out so it will be easier to glass. I also have the front sections of stringers made and will get them in at the same time I glue the rest down.

I plan to just scab them to the others. I look at it this way, it HAS to be better than what was in it before! After all this is done, I will begin the fiberglass process. I am thinking 2-3 total layers with a increasing thickness. I figured I'd go for 4" first layer in cloth which gives me 2" on the stringer 2" on the hull. Second and Third layers will be mat @ 4" and biax @ 6" or so. Obviously this will be on both sides of the stringers.
 
Yeah. Its been a busy weekend but hoping to spend a few hours glassing tomorrow. Also going to try dry fitting the front floor piece so I can seal it up and get it put down so I can fix some wiring issues. Hoping to either find a new prop or send mine in to get it fixed. I currently have a 17 pitch, but on my spare outdrive (original) it has a 19. Any comments on what should be the correct pitch or am I good as long as its in that area.
 
FInally finished up late last night. 11:30 to be exact. It was way to hot to work on it before 8pm so I worked under the lights! I have a toal of about 8hrs in glassing in the stringers. I have used just shy of 3 gal of resin so far. That does include coating the stringers and all other related material before installing. By the time I finish coating the 2x2's that will run the stringer legnth to screw the floor to, I should be right at 3 gal.

I hope to begin cutting the floor pieces tonight, weather and children permitting!
 
Good for you! Where are the pics if your progress?


Sent from my iPhone using Tapatalk
 
I know you cant se a whole lot, but I just took these real quick this morning. I didnt add them earlier because my new workstation just came in at work and I wanted to get this beast set up so I could play! This gives you an idea though... I need to do some serious cleaning!


2011-07-20_07-46-57_943.jpg


2011-07-20_07-46-41_412.jpg


2011-07-20_07-46-34_735.jpg
 
Next steps are:

-Seal up the underside of the floor with resin.
-Install the 2x2's to screw the floor to and then recoat everything that has touched the stringers again in resin
-Spray paint Hull/stringers.
-Install foam pieces.
-Install flooring, PL glue it down and to level edges then glass it to the hull and a covering of ciax or cloth depending on what I have left will be used to seal the top and to seal seams.

during this process I have to finish the electrical issues and find time to either seriously adjust the shift cable or more likely install a new one.
 
Wow, you're really making some progress. Lots of hard work but the end result will be worth it.

We've never seen the boat from the outside. You have any pictures of her over all?
 
I have 2 pics of her from the outside, but they are under tarp. If was from early this spring. I'll try to remember to take a few this evening. Take a look at old skool's. Its identical, only his looks much better! Mine is still pretty rough as it need a good buffjob. My plans are to hopefully paint it over the winter. There a a few spots that the gelcoat is rubbed off or chipped. I'd like to fix that and all the other imperfections and then find a nice bright yellow and paint the entire hull. But thats something I can do in full weekend at my uncles body shop, so really its just a matter of saving the money and scheduling the time in the shop.

My original goal was for the boat to hit the water in July. Right now, it doesnt look lke thats going to happen! I still have that list below which I knocked so out last night, and added a new sarter solenoid, and fixing the hack job on the ignition switch... I also have to get a new bilge pump and try to figure out what wires run the trim senders since I found that they are just hangin out disconnected. I also need to remove and inspect the fuel tank, and then fill it!

At the rate I am going I'll be happy IF the boat hits the water this year!
 
Update!

I haven’t fell off the earth, or abandon the project! I actually have been lurking around the forums, and planning my new method of attack for this spring. I decide to start with tearing the tank out and getting all the water/fuel mixture out of the tank. While I am letting it sit and dry out a bit, I decided to figure out what was going on with the trim. The PO just said that he has always had to use the trailer button for trim out. He also said that when they put the newer outdrive on it, it was gone over and new trim sender/limit were put on but they could never figure out how to get them to work.

So I spent about 4 hours yesterday tearing them apart, cleaning, and figuring out the wiring. But the short story is... none of the wires had any markings, the senders were installed wrong somehow from the beginning, now my "Out" button actually works! With out getting into full detail, I actually successfully got everything working in that mini project. I also set the limit switch. It doesn’t seem like it allows for much movement per the adjusting method I found, but who am I to argue fluid dynamics. Just for reference I believe I found a place that says your hydraulics should be 21-3/4" from bolt to bolt when trim switch kicks in, also see link below for another way to measure that.

If you are looking to dive into troubleshooting you limit switch and trim sender, I'd advise you look at these two documents. Dave M's, and MercStuff.com I can also elaborate on this process for what I have done, but I really want to get outside and put in a few more hours on the next projects. Plus I didn’t take but maybe 2 pictures.

Next projects;
Testing the rest of the gauges, and fixing any associated issues. I expect this to take me a few days because the wiring is a hacked up nightmare. Its 1000x easier to fix it now and do it right! I also need to figure out if my fuel sending unit is good or not. I had to take the tank out to get rid of the 15 gallons of fuel/water mix that’s been there for who knows how long. Last time it ran was from a 6Gal outboard tank! Following this adventure will be putting it back in and running new fuel lines. I’d list everything else out, but the list might scare me!
 
Last edited:
So, anyone have any sources for fuel sending units? I figure I might as well get ahead of the game just in case!
 

Forum statistics

Threads
113,228
Messages
1,428,962
Members
61,120
Latest member
jingenio
Back
Top