

davidh82
Member
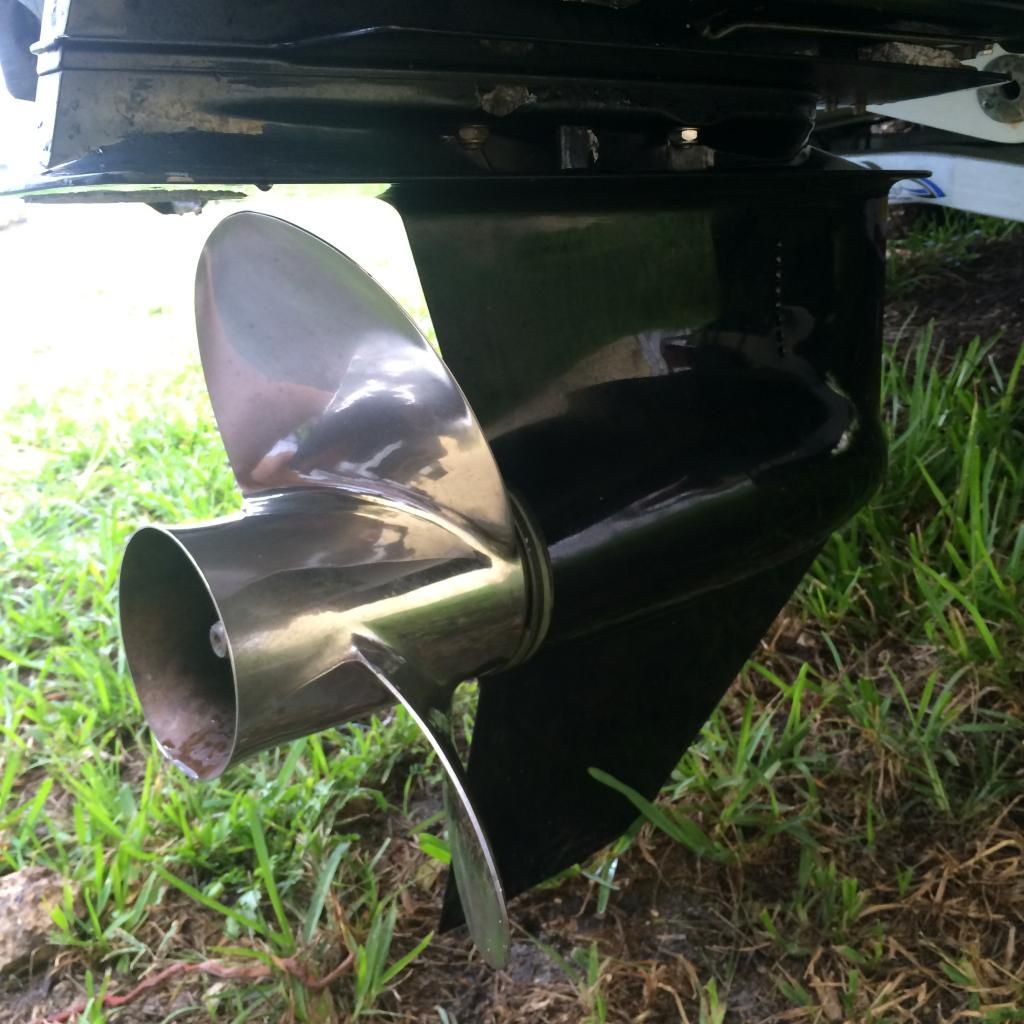
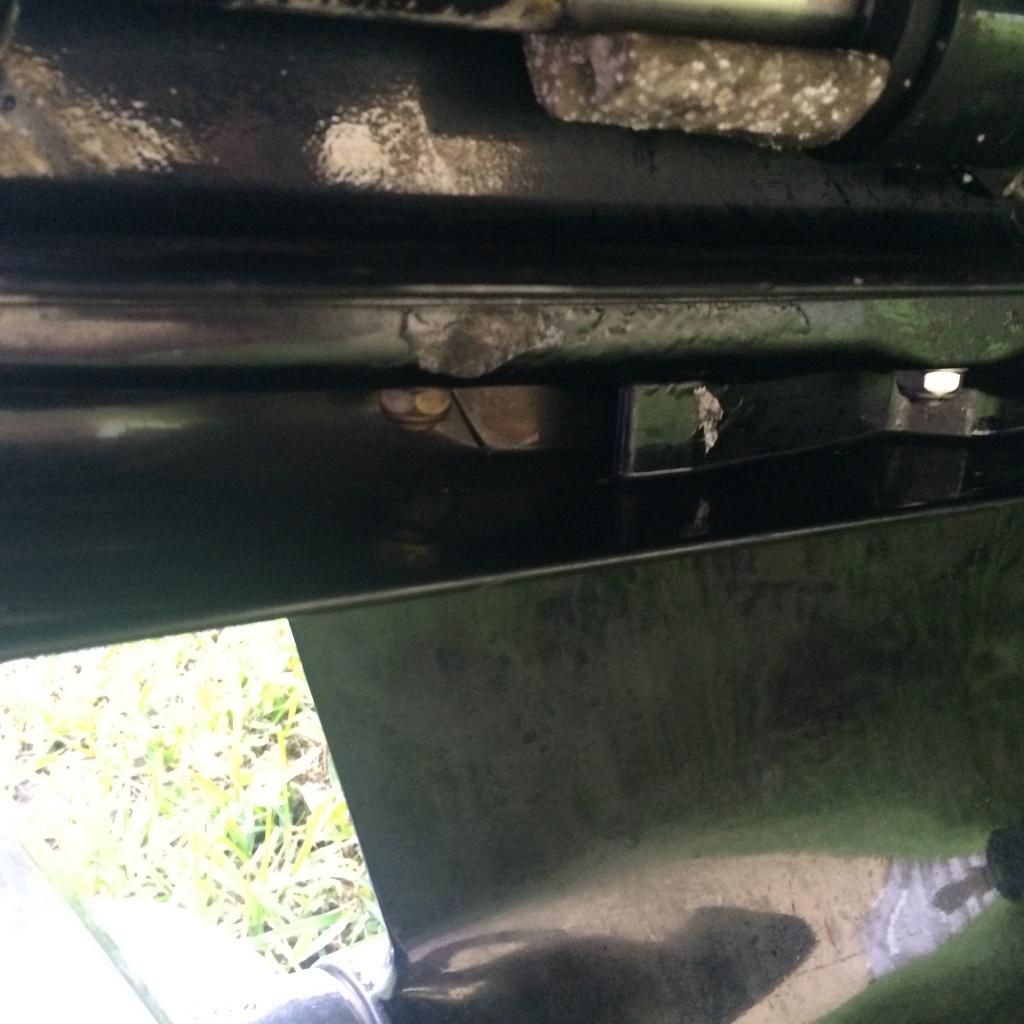
Hey CSR!! I have a bit of paint blistering on the lower unit of my bravo one drive and I was hoping to hear from you guys to see if anybody has any insight to offer. I first noticed the paint blistering when I purchased the boat a couple of months ago but just yesterday noticed that there are two areas slightly bigger than a quarter sized where the paint has come off.
My plan of action is to use a 120 grit dremel flapwheel to remove the corrosion, then use something like marine-tex to fill any pitting that is left behind after the grinding. After that I will apply two coats of zinc-chromate primer to any exposed metal. I also plan on painting over the entire lower unit since there is part of the paint that was rubbed off just behind the propeller (be careful that you don't let your dock lines fall in the water!). What I will do is take a 1000 grit paper and wet sand the rest of the lower unit, then paint it with a few coats of outdrive paint (from a spray can) and perhaps clear coat it.
Does anybody have any thoughts on the corrosion or my plan of action? I'm still trying to decide whether or not I should remove the lower unit. Since some of the corrosion is in the edge between the upper and lower units I'm a bit worried that there might be damaged areas that are not exposed. Thoughts? What seals would I need if I decided to pull just the lower? Is it difficult to remove and install the lower unit?
Thanks for reading, and I appreciate any feedback or advice offered. Below I am going to try to upload a few pictures showing the outdrive.


Last edited:


