Nehalennia
Well-Known Member
- Aug 22, 2007
- 10,006
- Boat Info
- 2001 310DA twin 350 MAGs, Westerbeke 4.5KW
- Engines
- Twin 350 MAG V-drives
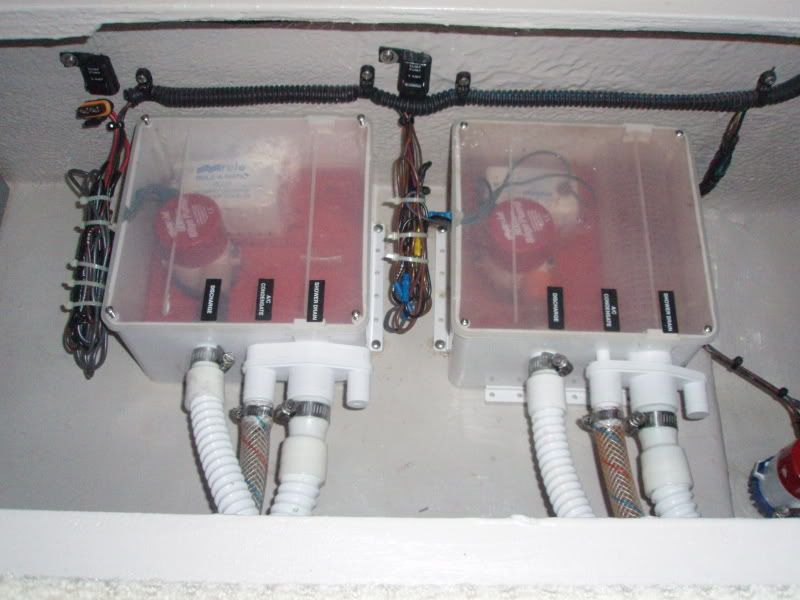
You guys with two sumps adjacent to each other. Have you ever thought of connecting the two tanks(tubs)? I was thinking if a small hose connecting the tubs allowing each to cover for the other if the switch fails in the off position?