rondds
Well-Known Member
- Oct 3, 2006
- 8,859
- Boat Info
- 2001 380DA
- Engines
- Merc 8.1s (2008)...Hurth ZF 63 V-drives...WB 7.0 BCGD (2013), Garmin 8208 & 740 MFDs, GMR 24xHD dome
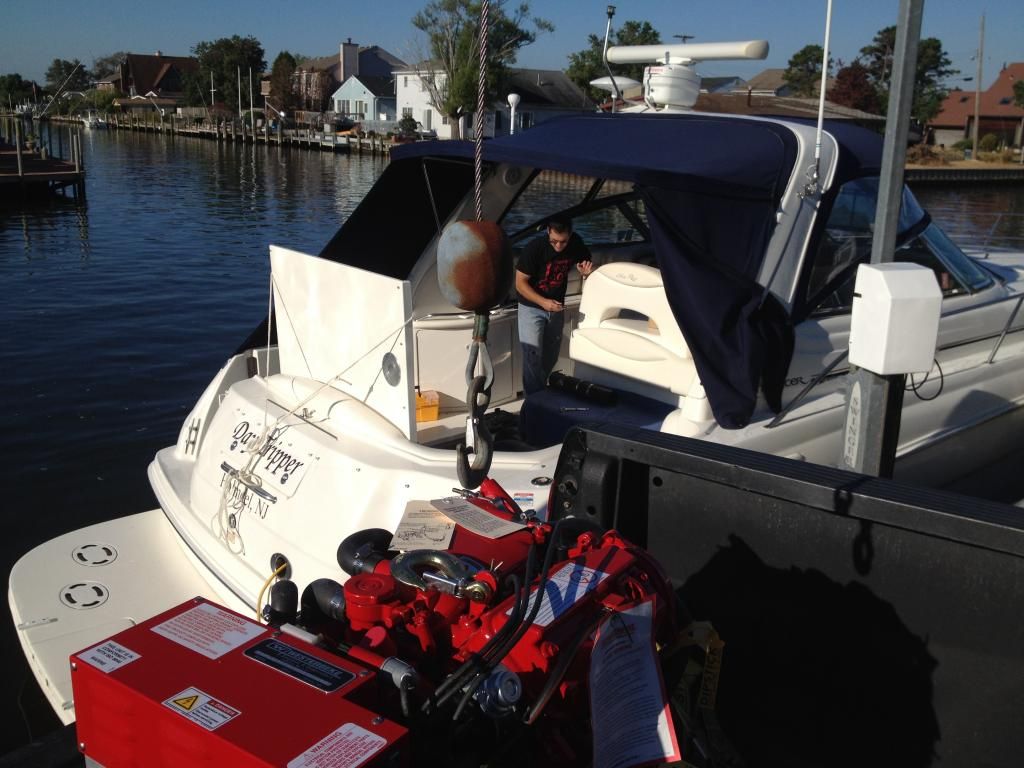
The story of extraction of a dead Westerbeke 7.0 BCGB and installation of a new Westerbeke 7.0 BCGD-LP (Low Profile)
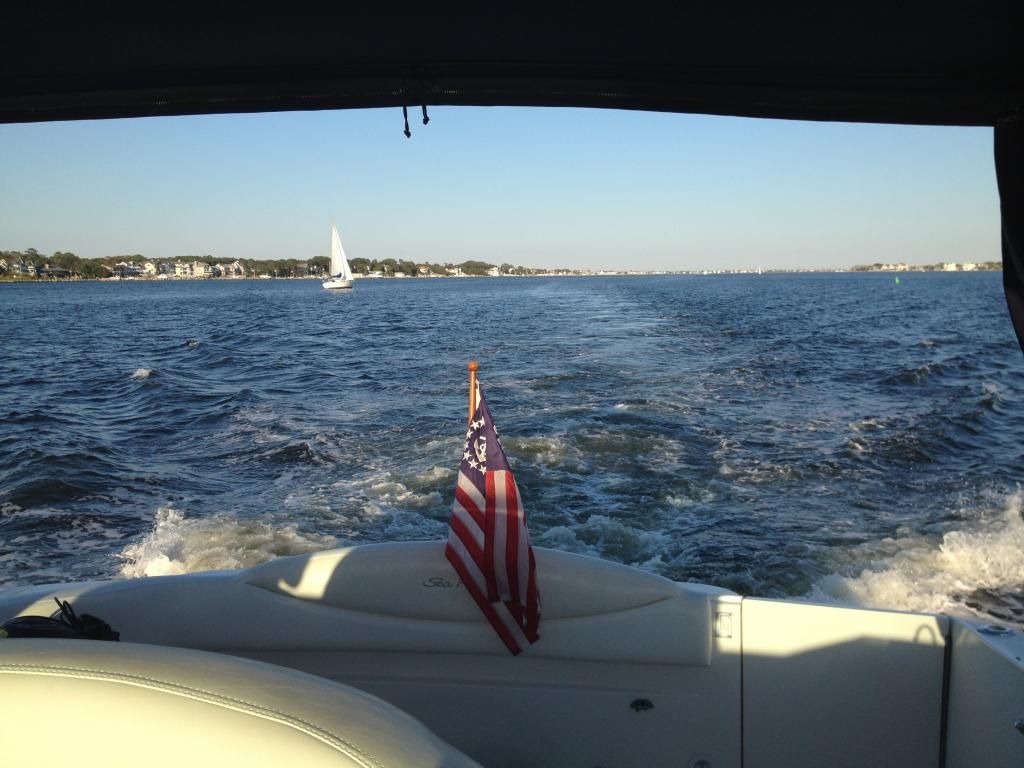
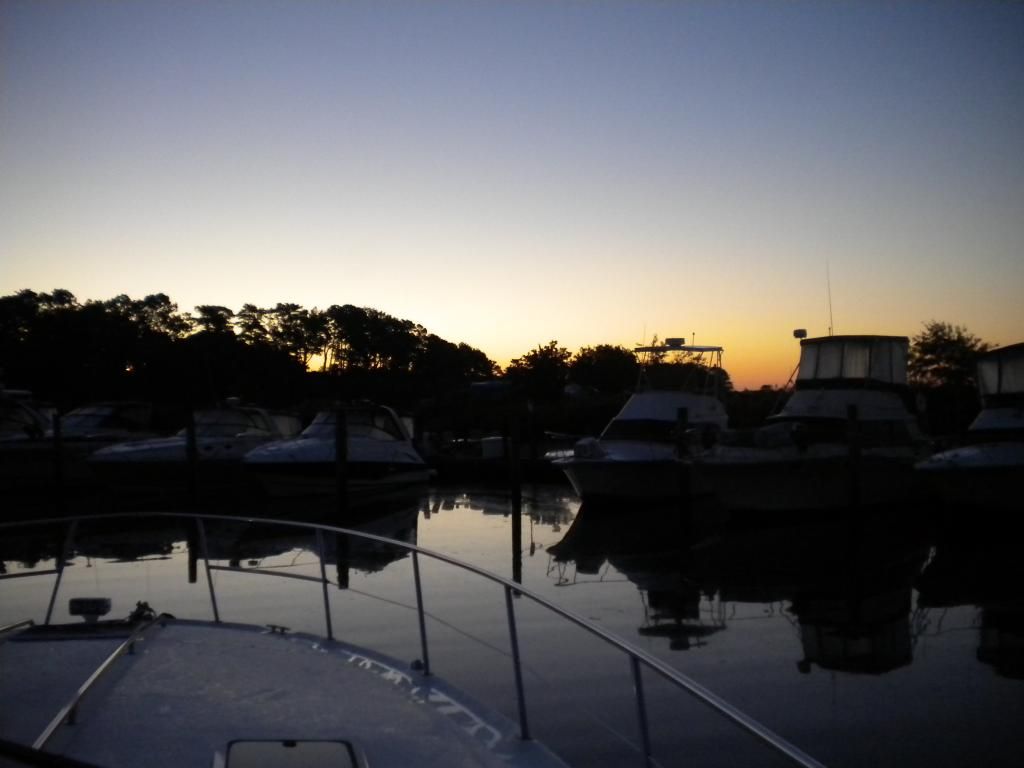
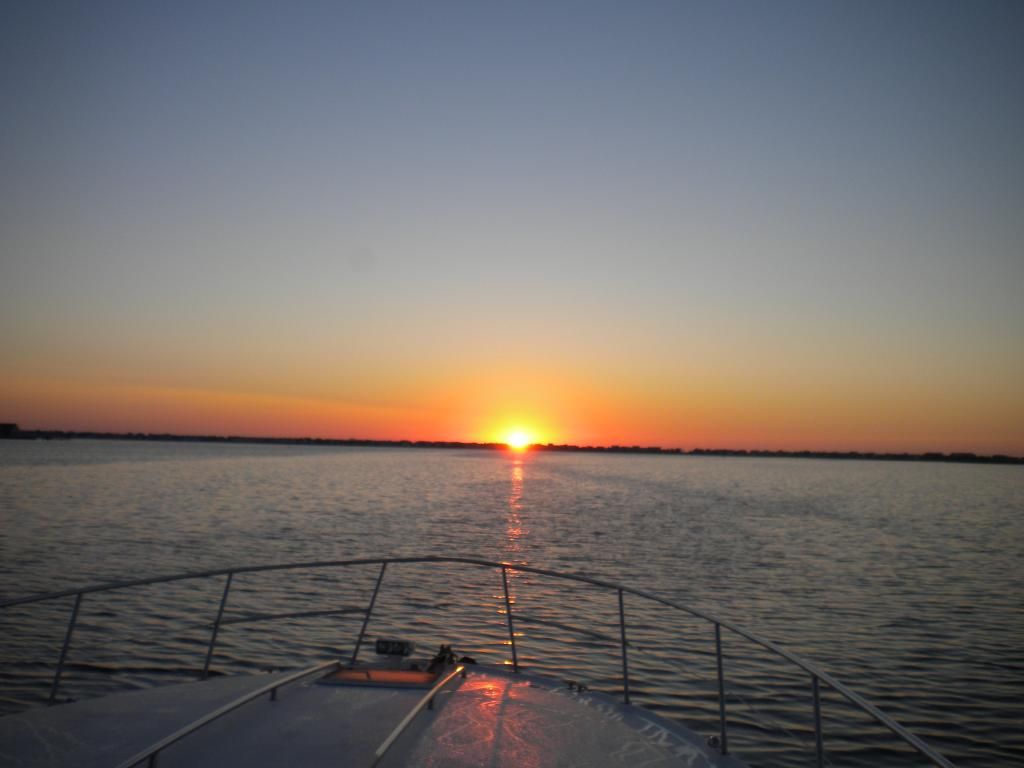
Stayed aboard and set out at first light to head over to Vince’s (Ryker Bella) house. About a 40 min boat ride. Sun-up was a 0642 and I witnessed it first hand.
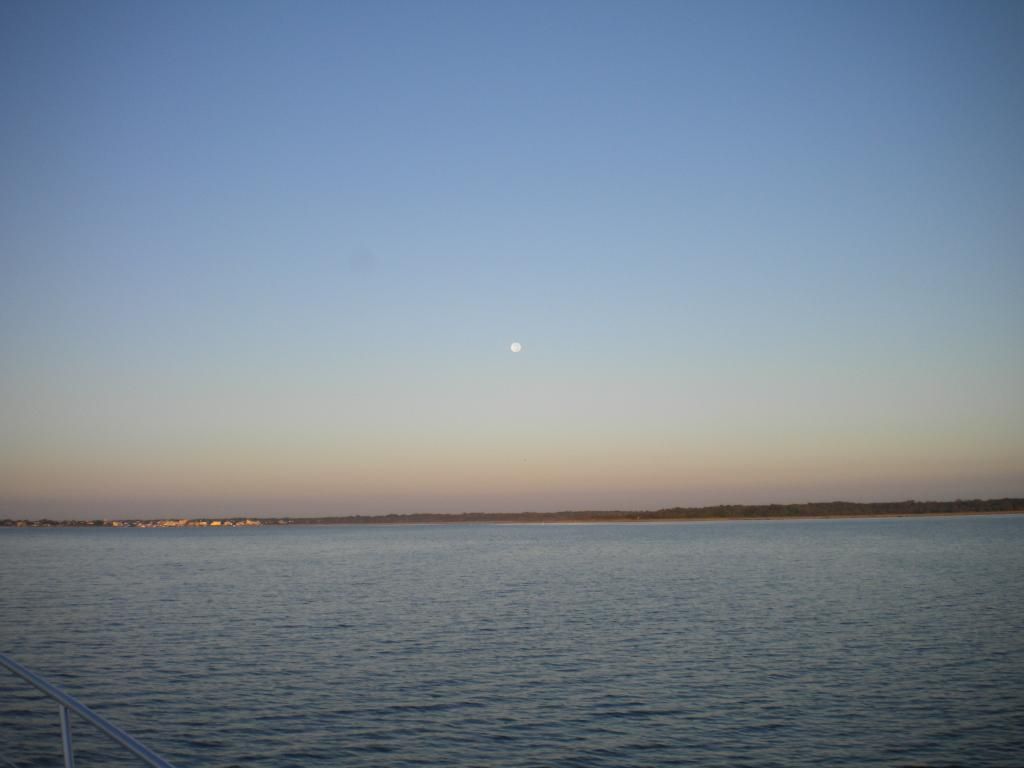
The harvest moon was still up. Wasn’t due to set until around 0730.
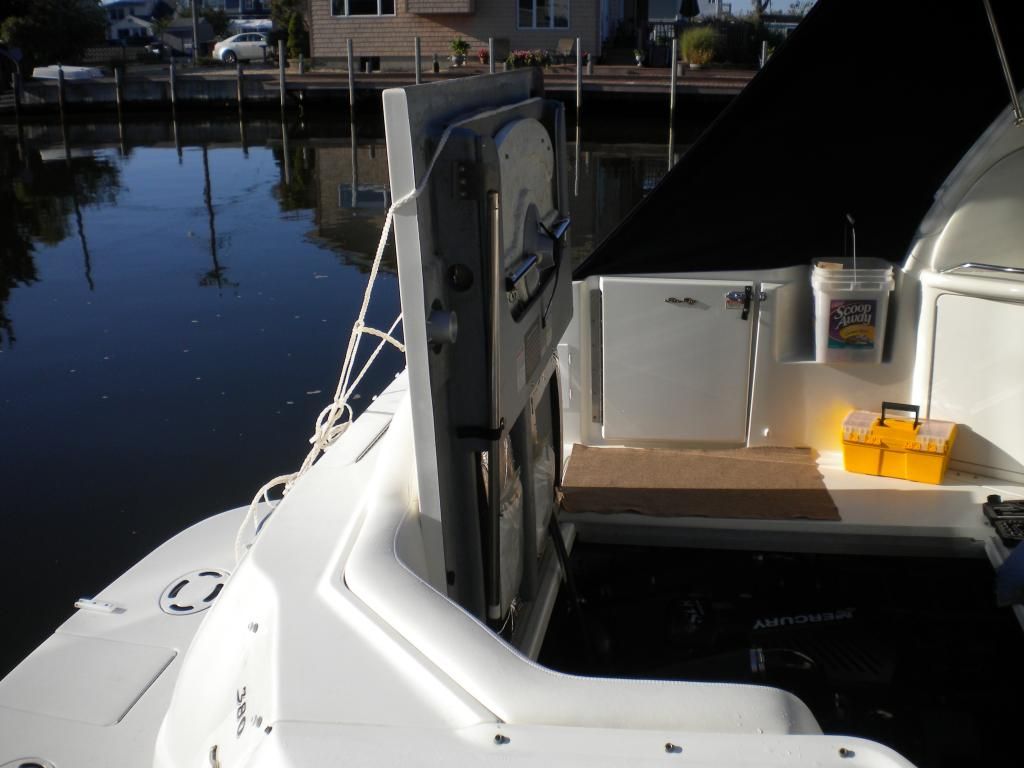
I had assembled a Dream Team of boat guys. Jon (J Levine), Dale (MasterFab) & Vince Ryker Bella). This project was researched to the Nth degree. It was thought out, planned and plotted very carefully. Got to Vince’s dock at around 0710 and woke him up. I had removed all the cockpit carpets and seating the night before. We pulled the day hatch over the generator and removed the pin on the hatch ram to get the main hatch tied back fully upright.
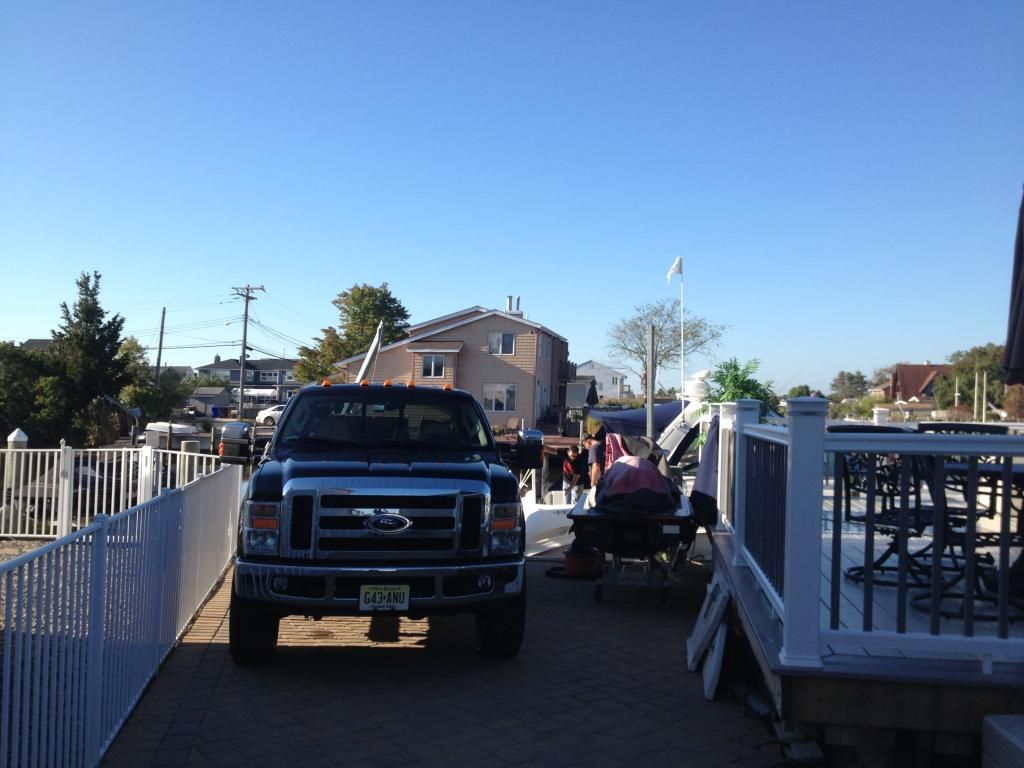
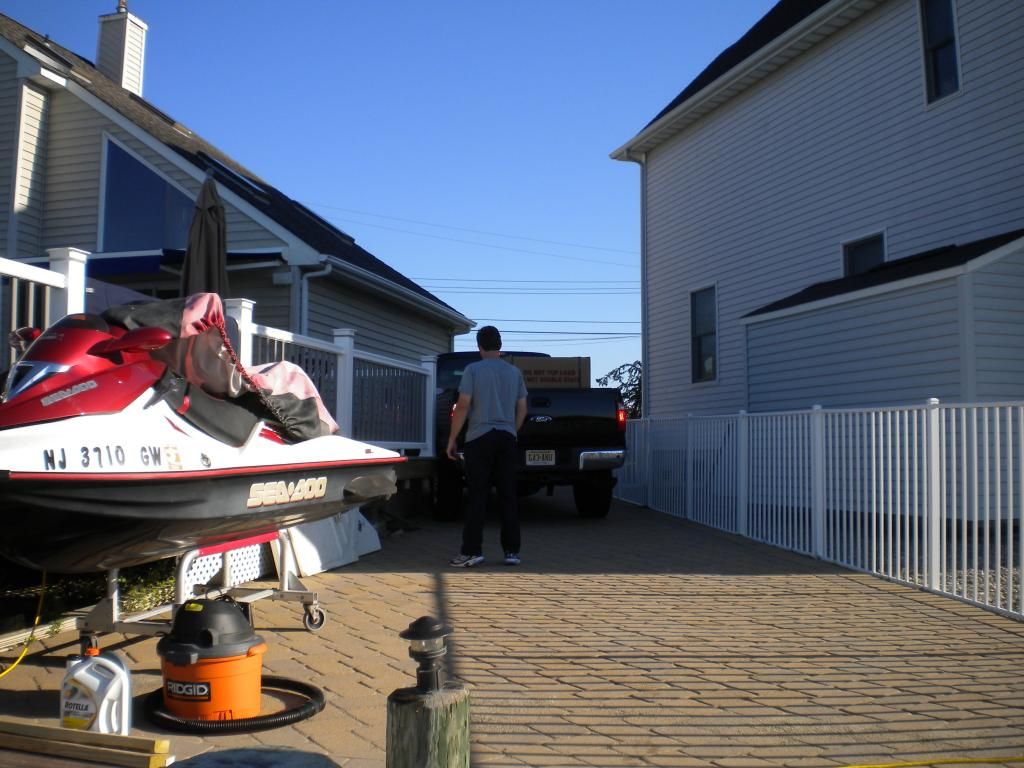
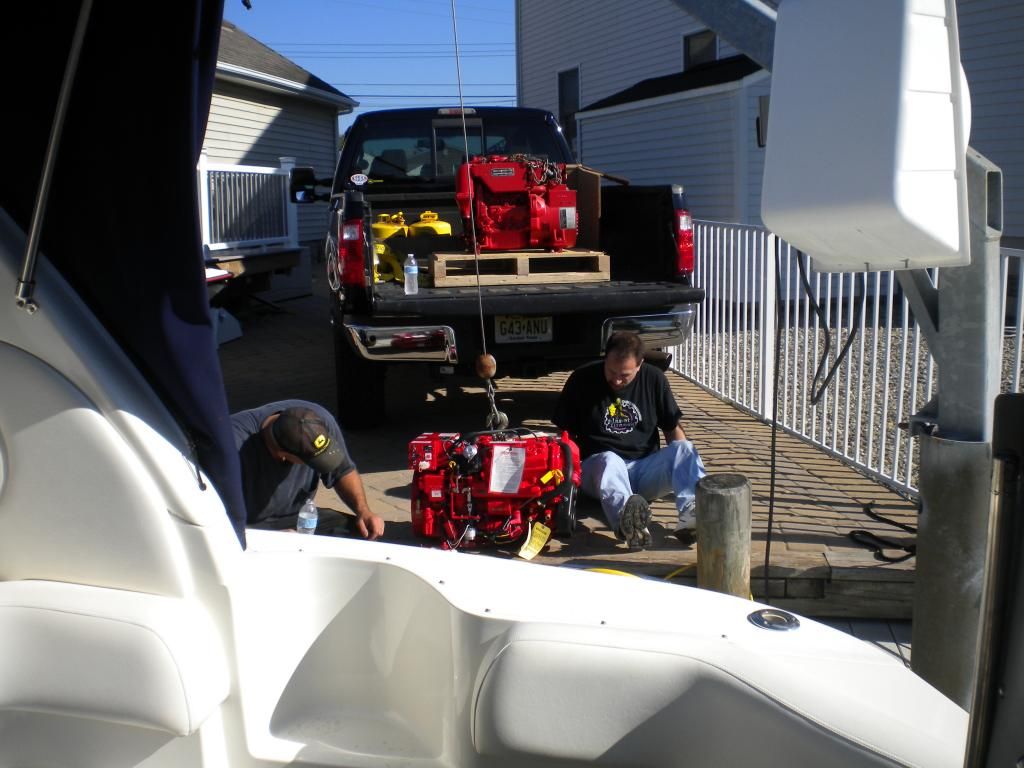
Jon made the hour+ trip and arrived at around 0820 with the new genset, which he had picked up for me from the Fed Ex Freight depot a couple of weeks ago. Truck backing up to the dock for offloading.
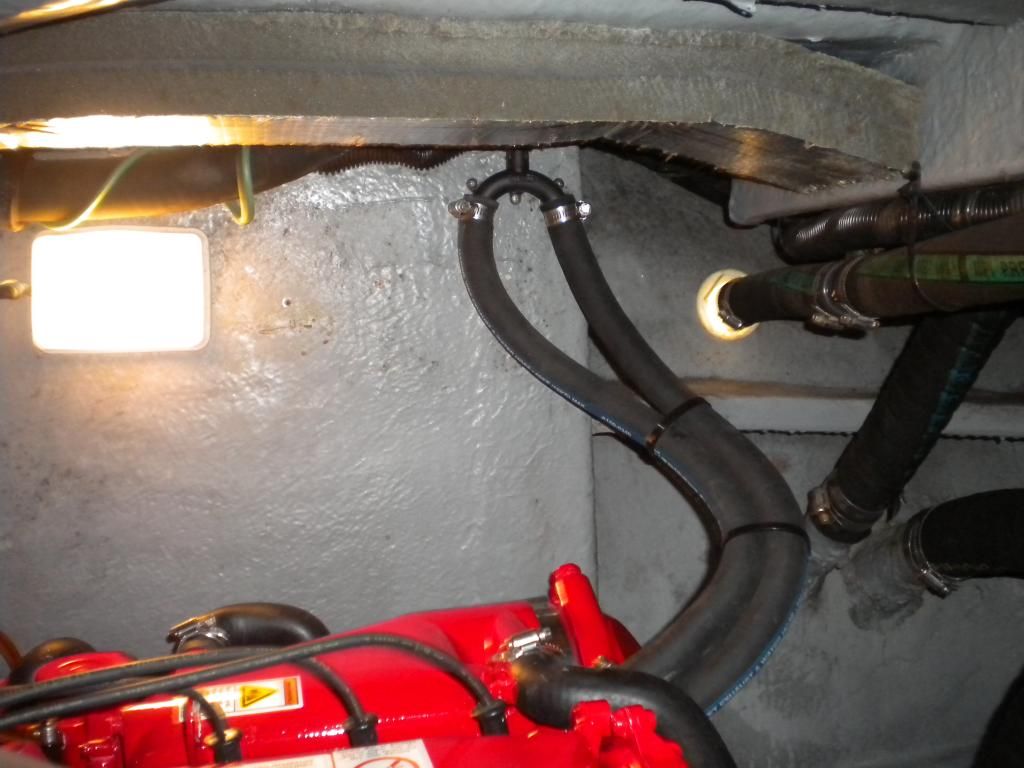
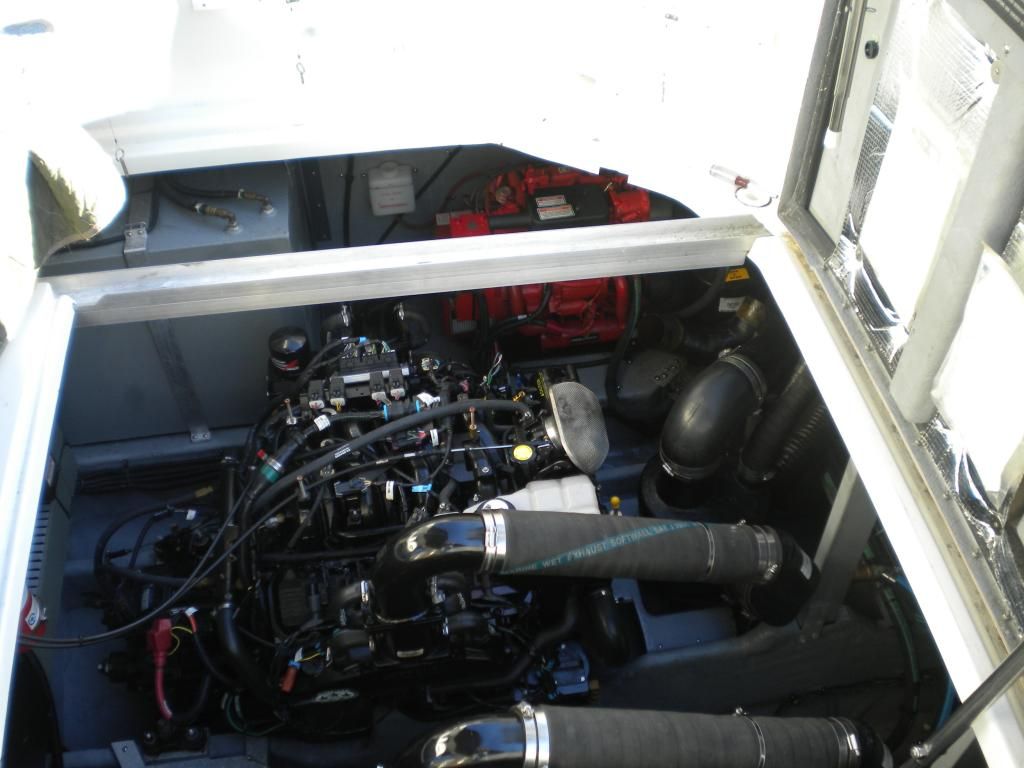
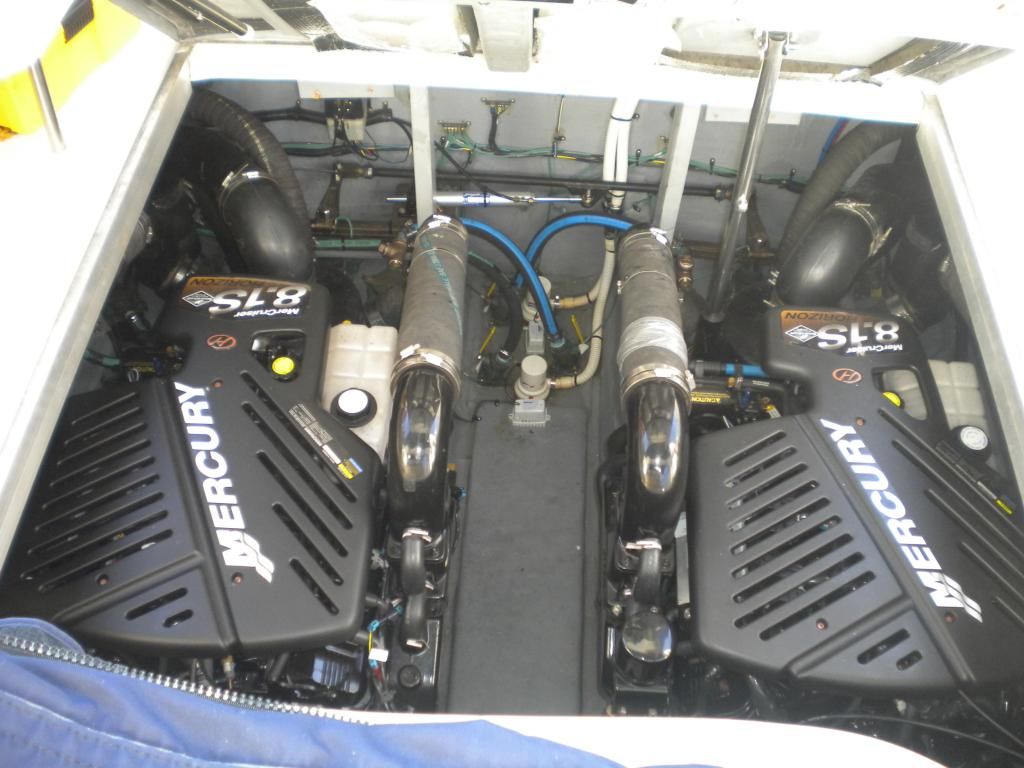
Dale made the 3 hour trip and arrived around 0900. We had the exhaust hoses and muffler off in about ½ hour, clearing a pretty big space behind the stbd engine.
Muffler in place...
Muffler and exhaust OUT...
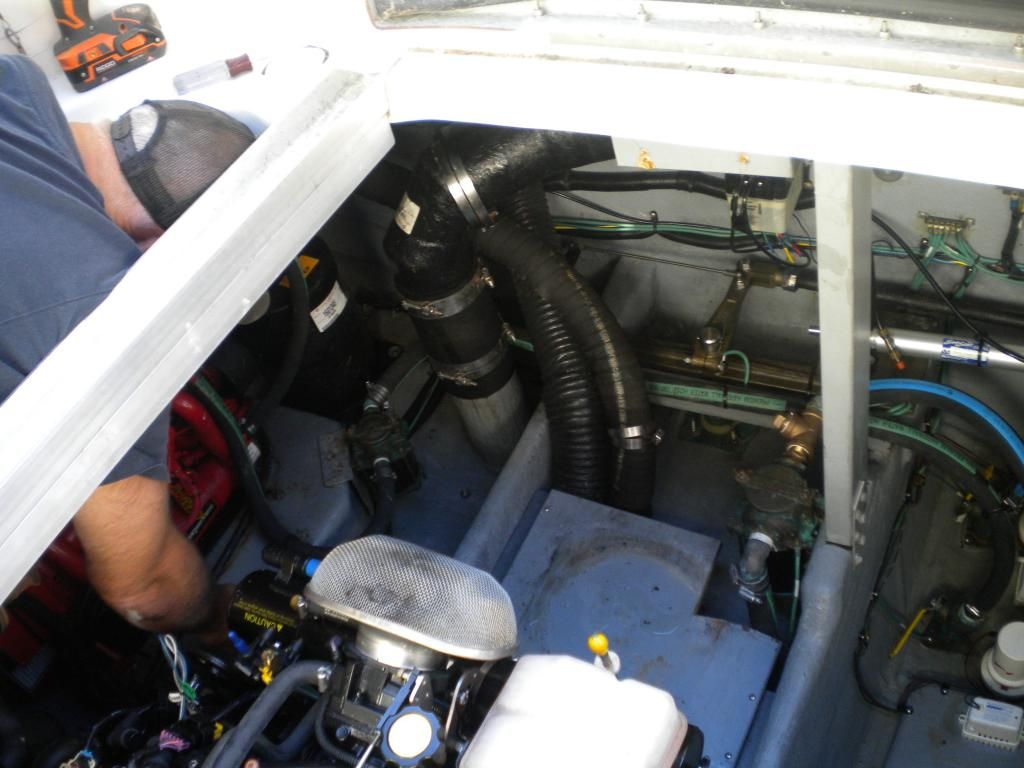
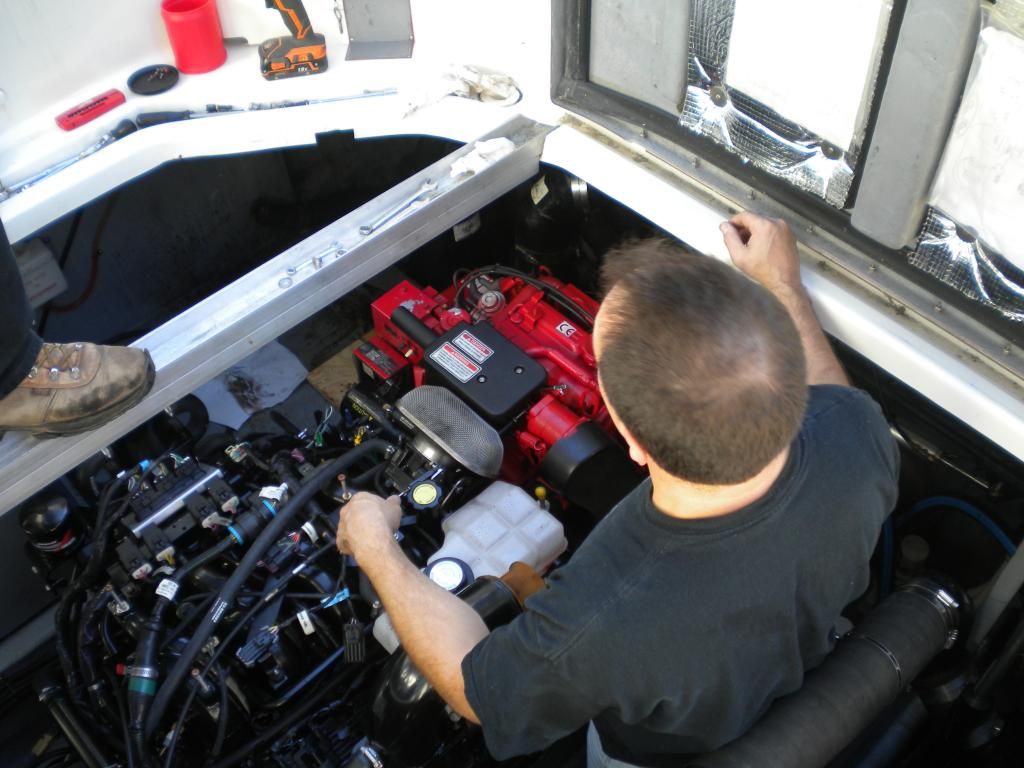
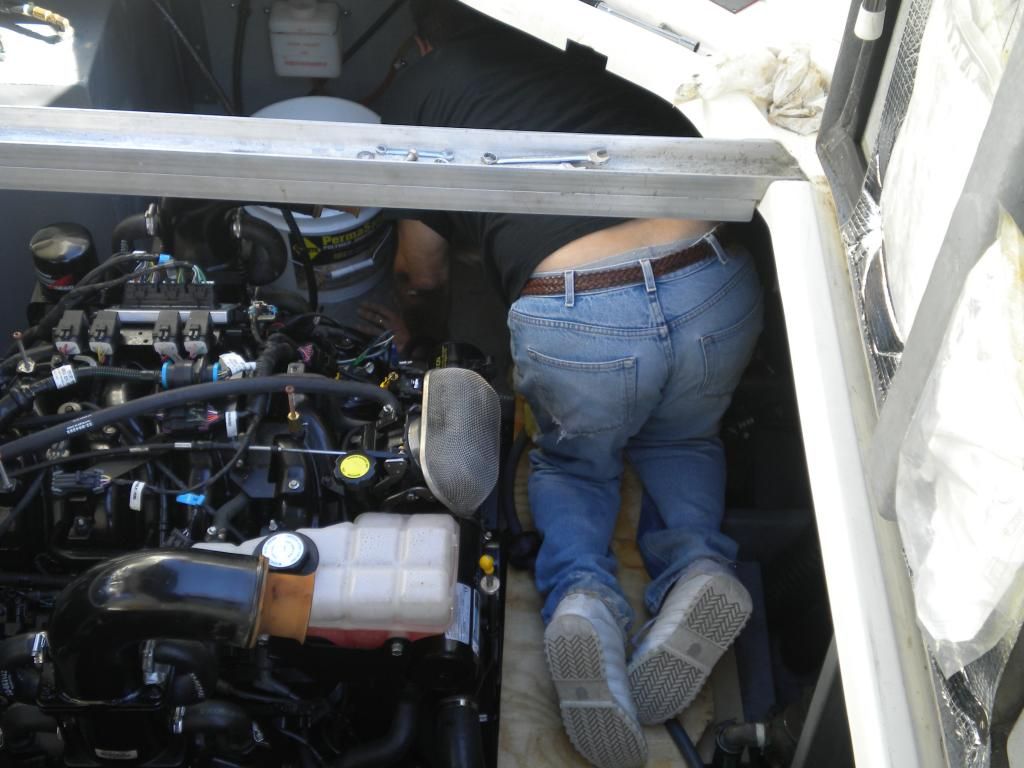
Once the space behind the motor was cleared, we cut plywood to bridge the engine stringers. The plan was to drag the old gen off the “shelf” that it sits on, onto the makeshift plywood platform, get it hooked with the jetski davit and haul it out.
A fair amount of time was spent disconnecting the raw water hoses, the exhaust hoses, the remoter start harness, the fuel line, the power harness and the harness from the battery to the starter. We replaced the overflow bottle and installed an antisiphon valve (there was none on the old generator). This required a west marine run. Several of these harnesses had to be cut free from their zip ties and re-routed to create more slack due to slightly different positions of some attachment points.
Plywood platform...

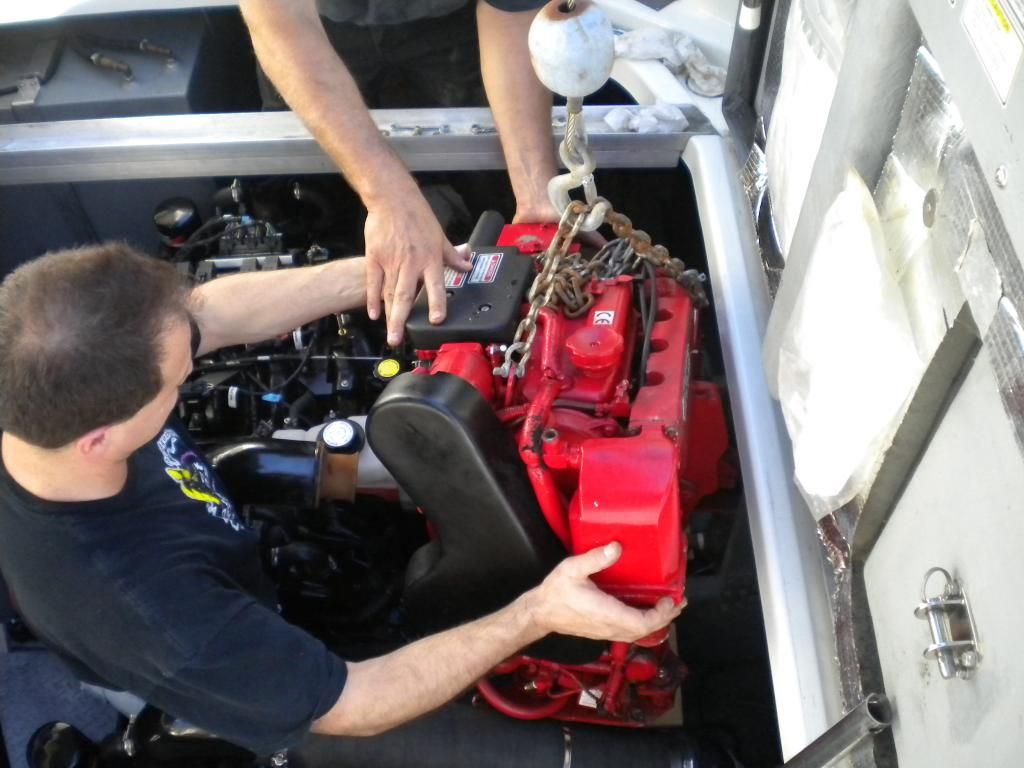
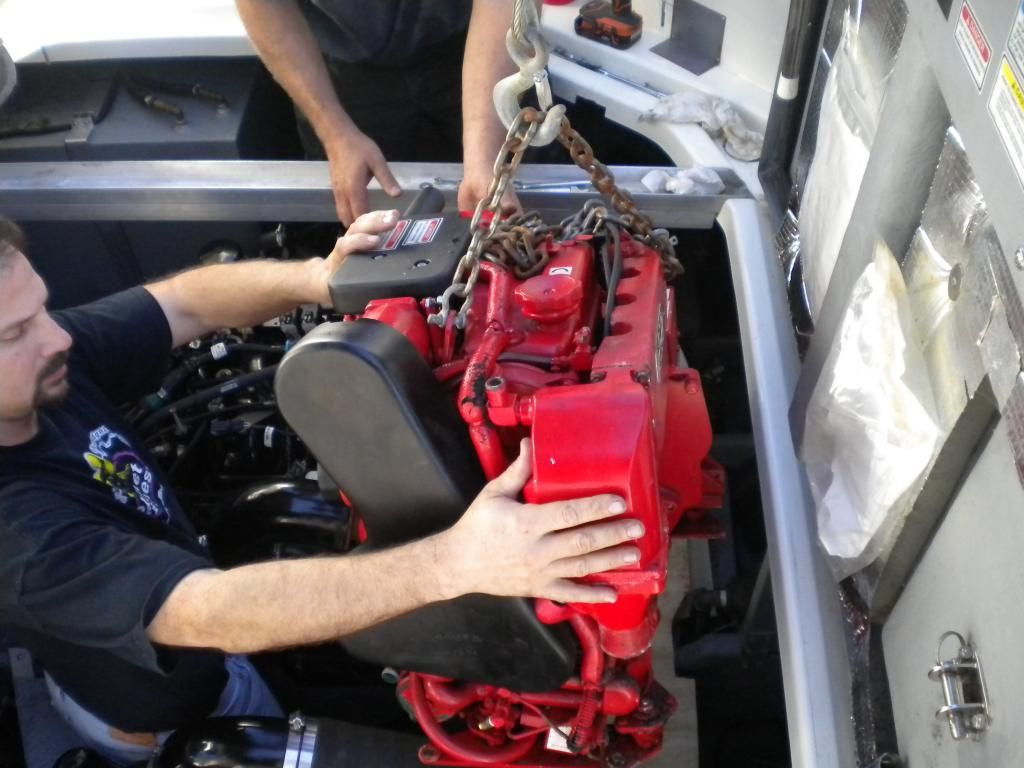
The plywood plan worked very well. Once all the connections were undone, we were able to shimmy the generator over onto the plywood and get it hooked. And OUT it came

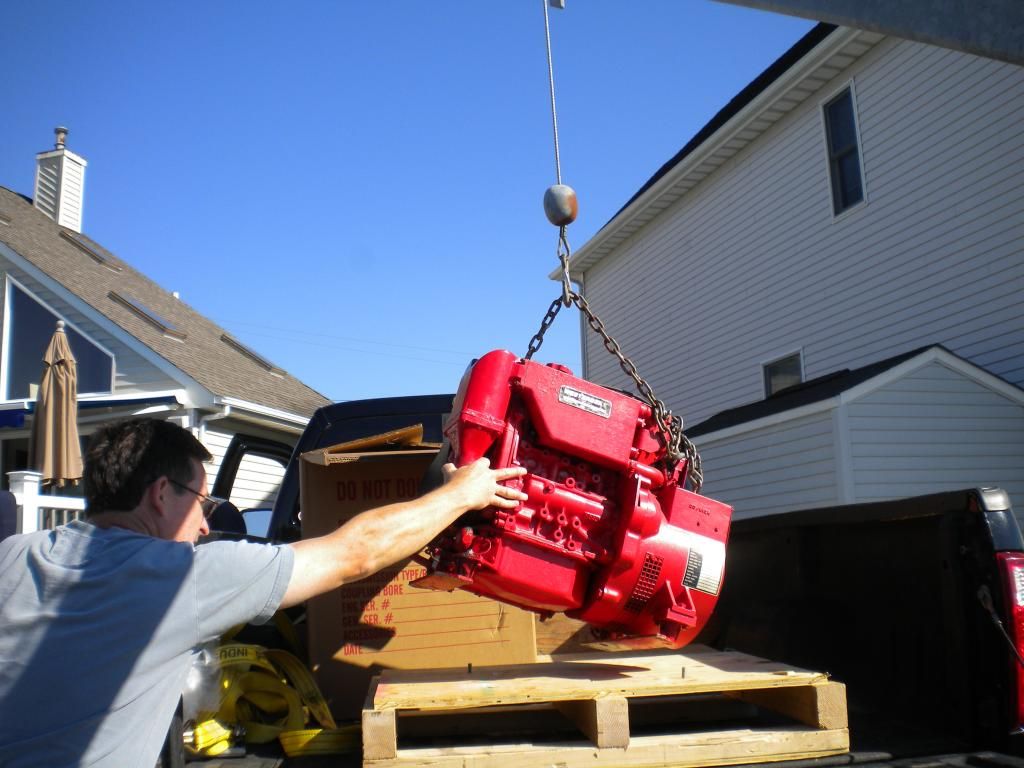
The old unit was put onto the same palette that the new one came on and the opportunity was taken to clean the area and prep it for the new generator. We moved the bottle and installed in anti-siphon valve (there was no anti-siphon on the old installation - this required a WestMarine run. The plywood also served as a great work platform.
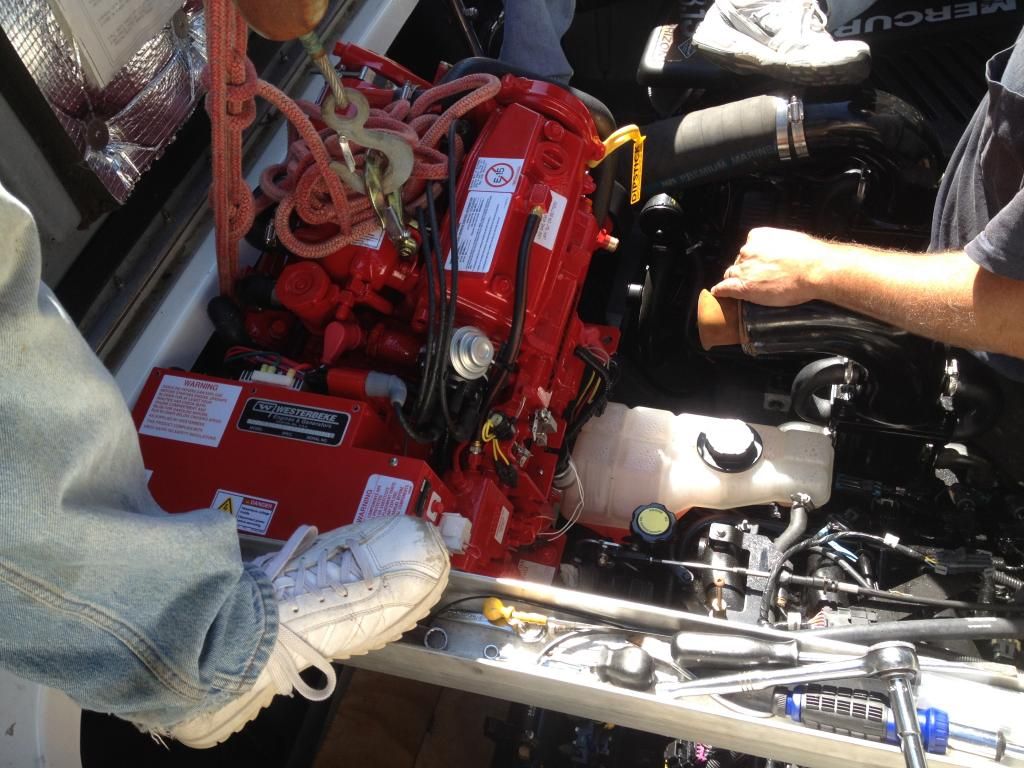
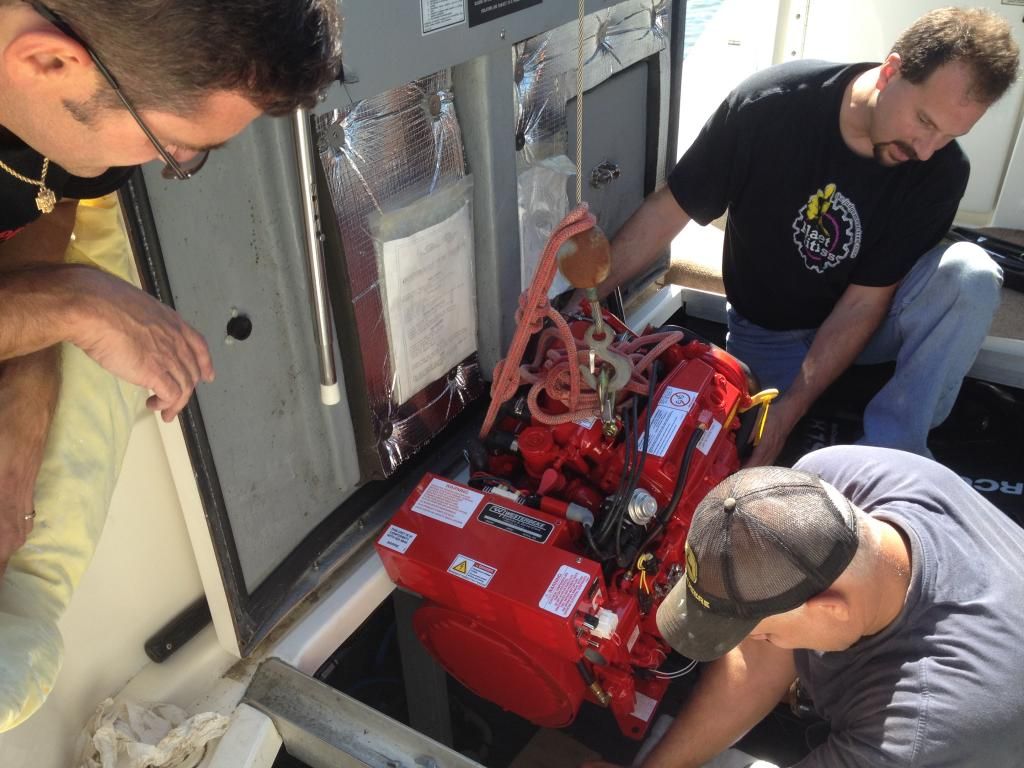
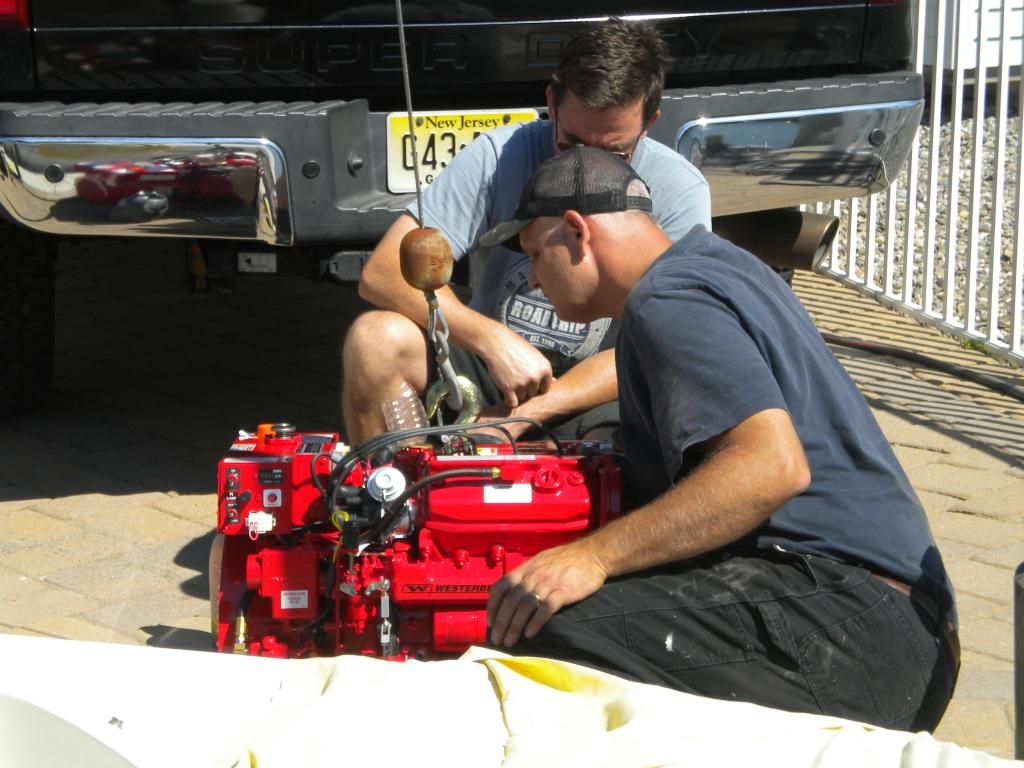
These guys filled the new gen with fluids…
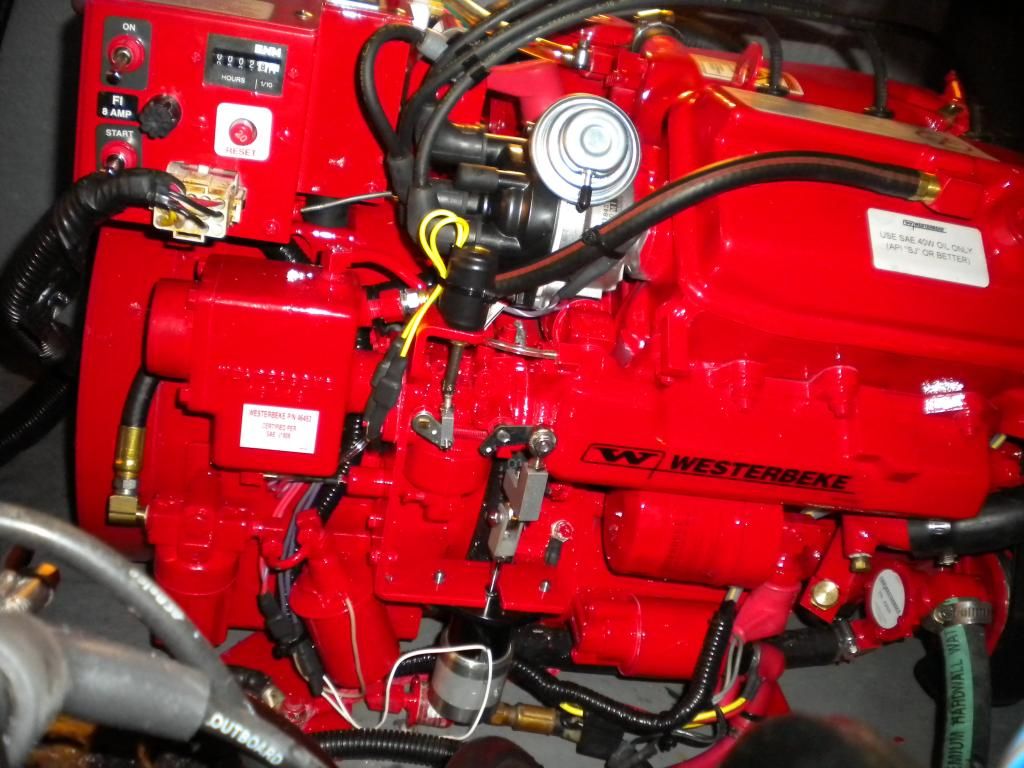
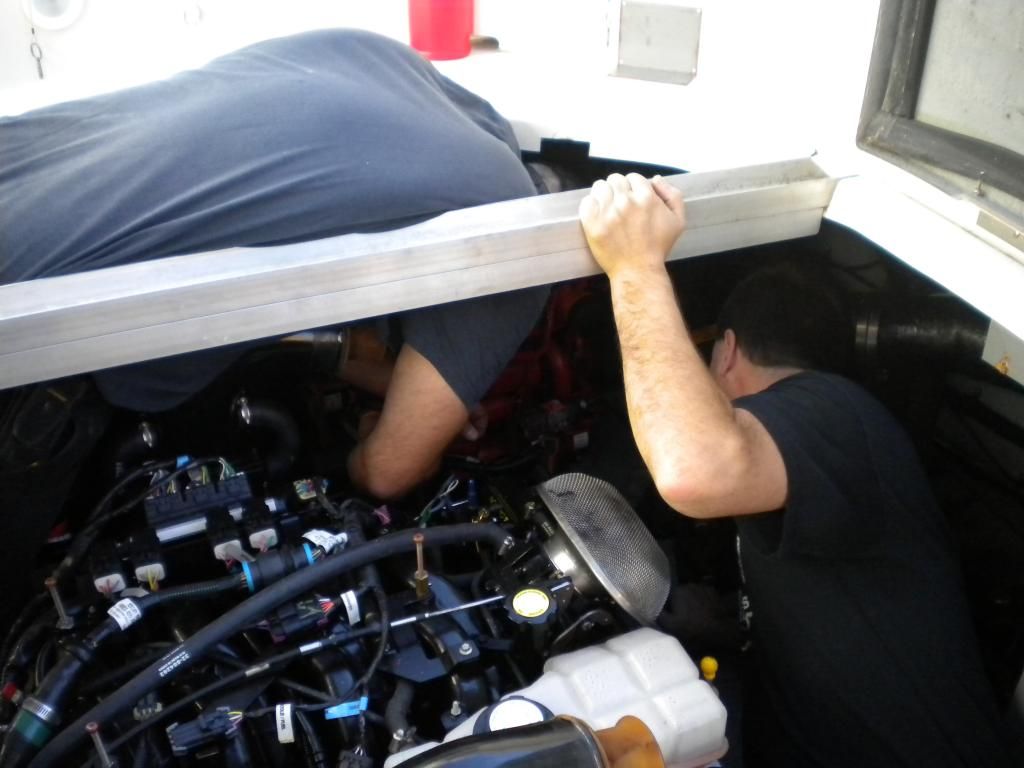
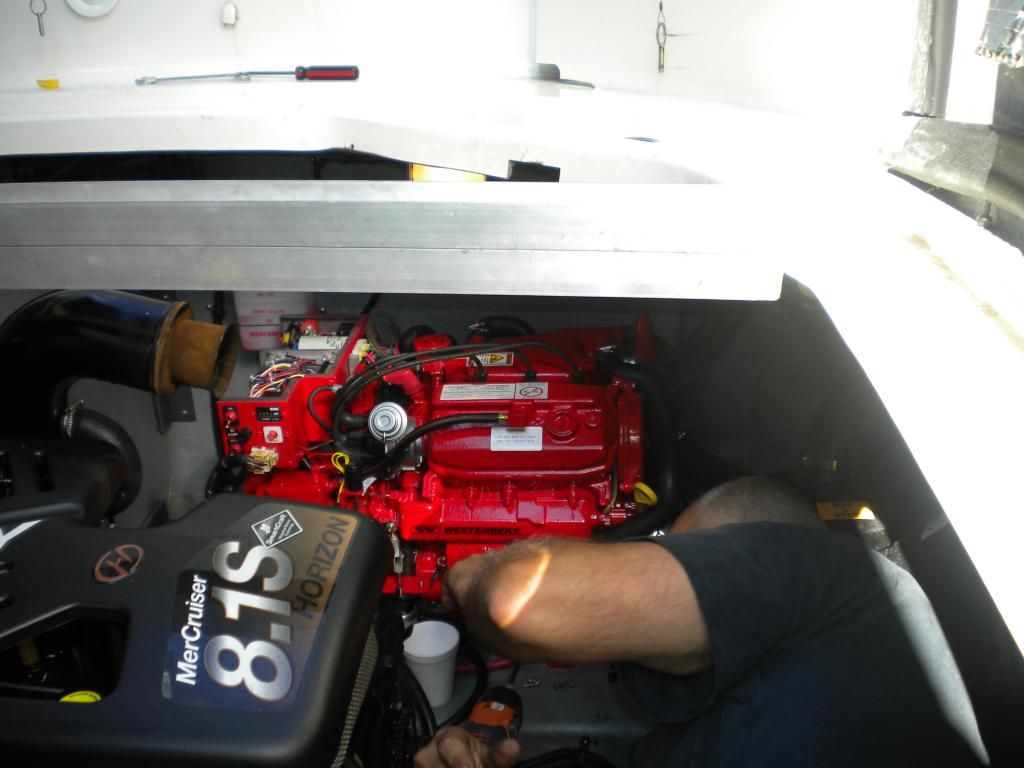
Hooked the new generator to the lift and lowered it in. The new one was a bit wider than the old so we had to remove the flame arrestor and move the overflow bottle on the stbd motor to gain clearance. No pix b/c this job literally required all 4 sets of hands.
Once the new gen was in position, it was time for lunch.
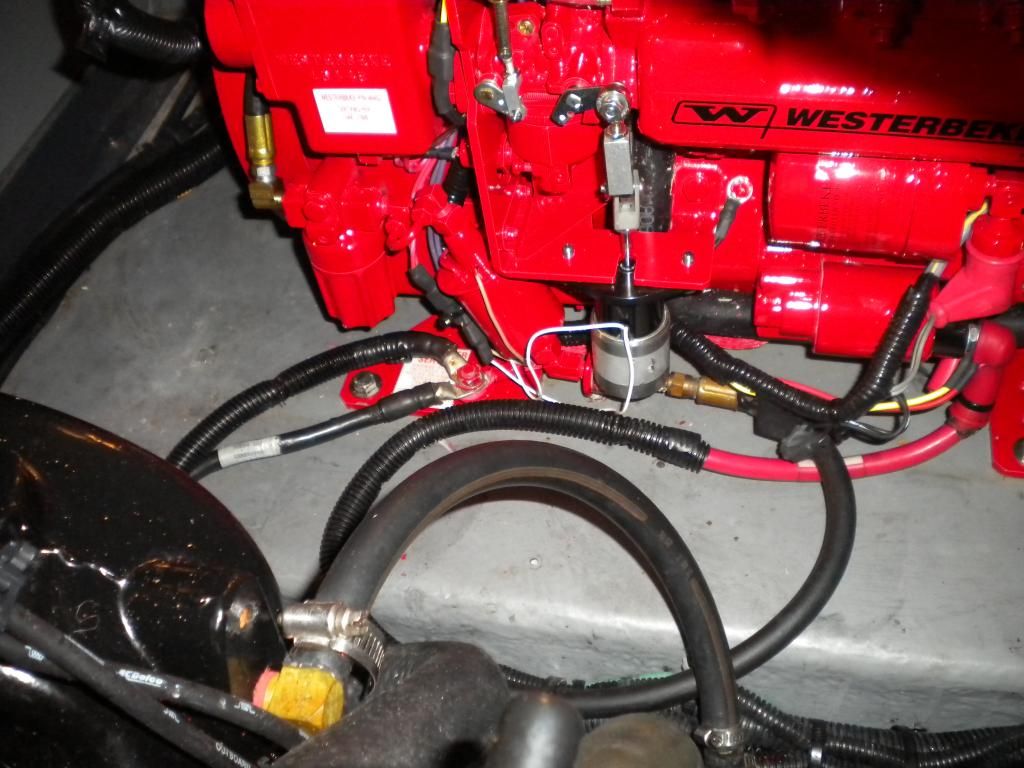
After lunch, all the connections were made. Every screw that came out was put back in with silicone and new zip ties. Some were re-routed b/c of slightly different position of the connection points but all in all, not terribly difficult. The generator is lag-bolted to the shelf. The mounting holes on the new gen didn’t line up with the holes in the shelf from the old gen. Old holes were filled in with silicone and new ones were drilled and bolts were sealed with silicone. We were pretty much finished by 330pm.
She started right up and we ran it under load for about 20 min. Shut down, checked fluids and started cleaning up. Ran it for another ½ hour under load and ran it most of the way back home.
Only SNAFU of the day…blew a hole in the port motor's right side exhaust hose while cruising back to my marina. Quick duct tape repair got us home…
We were all pretty amazed at how fluidly this entire process went. Thanks to careful planning and the skills of this group of men (dubbed, "Daryl, Daryl, Daryl and Daryl by my friend Frank Webster). We worked well together, emptied a few beer cans, had a bunch of laughs and enjoyed a beautiful day, as Hemingway once said, "simply messing about with boats." Thanks a lot to each Daryl!
Stayed aboard and set out at first light to head over to Vince’s (Ryker Bella) house. About a 40 min boat ride. Sun-up was a 0642 and I witnessed it first hand.
The harvest moon was still up. Wasn’t due to set until around 0730.
I had assembled a Dream Team of boat guys. Jon (J Levine), Dale (MasterFab) & Vince Ryker Bella). This project was researched to the Nth degree. It was thought out, planned and plotted very carefully. Got to Vince’s dock at around 0710 and woke him up. I had removed all the cockpit carpets and seating the night before. We pulled the day hatch over the generator and removed the pin on the hatch ram to get the main hatch tied back fully upright.
Jon made the hour+ trip and arrived at around 0820 with the new genset, which he had picked up for me from the Fed Ex Freight depot a couple of weeks ago. Truck backing up to the dock for offloading.
Dale made the 3 hour trip and arrived around 0900. We had the exhaust hoses and muffler off in about ½ hour, clearing a pretty big space behind the stbd engine.
Muffler in place...
Muffler and exhaust OUT...
Once the space behind the motor was cleared, we cut plywood to bridge the engine stringers. The plan was to drag the old gen off the “shelf” that it sits on, onto the makeshift plywood platform, get it hooked with the jetski davit and haul it out.
A fair amount of time was spent disconnecting the raw water hoses, the exhaust hoses, the remoter start harness, the fuel line, the power harness and the harness from the battery to the starter. We replaced the overflow bottle and installed an antisiphon valve (there was none on the old generator). This required a west marine run. Several of these harnesses had to be cut free from their zip ties and re-routed to create more slack due to slightly different positions of some attachment points.
Plywood platform...
The plywood plan worked very well. Once all the connections were undone, we were able to shimmy the generator over onto the plywood and get it hooked. And OUT it came
The old unit was put onto the same palette that the new one came on and the opportunity was taken to clean the area and prep it for the new generator. We moved the bottle and installed in anti-siphon valve (there was no anti-siphon on the old installation - this required a WestMarine run. The plywood also served as a great work platform.
These guys filled the new gen with fluids…
Hooked the new generator to the lift and lowered it in. The new one was a bit wider than the old so we had to remove the flame arrestor and move the overflow bottle on the stbd motor to gain clearance. No pix b/c this job literally required all 4 sets of hands.
Once the new gen was in position, it was time for lunch.
After lunch, all the connections were made. Every screw that came out was put back in with silicone and new zip ties. Some were re-routed b/c of slightly different position of the connection points but all in all, not terribly difficult. The generator is lag-bolted to the shelf. The mounting holes on the new gen didn’t line up with the holes in the shelf from the old gen. Old holes were filled in with silicone and new ones were drilled and bolts were sealed with silicone. We were pretty much finished by 330pm.
She started right up and we ran it under load for about 20 min. Shut down, checked fluids and started cleaning up. Ran it for another ½ hour under load and ran it most of the way back home.
Only SNAFU of the day…blew a hole in the port motor's right side exhaust hose while cruising back to my marina. Quick duct tape repair got us home…
We were all pretty amazed at how fluidly this entire process went. Thanks to careful planning and the skills of this group of men (dubbed, "Daryl, Daryl, Daryl and Daryl by my friend Frank Webster). We worked well together, emptied a few beer cans, had a bunch of laughs and enjoyed a beautiful day, as Hemingway once said, "simply messing about with boats." Thanks a lot to each Daryl!
Last edited: