I'm not done yet but right now it looks like I'll be in the ballpark of 130-150 sq ft including the mid-cabin.
I think I bought 150ft as well, had something like 1/2 box left. The waste is ridiculous, must be 20% or more with all the cuts
Follow along with the video below to see how to install our site as a web app on your home screen.

Note: This feature currently requires accessing the site using the built-in Safari browser.

I'm not done yet but right now it looks like I'll be in the ballpark of 130-150 sq ft including the mid-cabin.
")
Nice timing, @Strecker25 , I was just about to post asking you a question!!
I'm taking the weekend off to get ready for some hatch work. I am using the existing hatch covers so as you know they need to be shimmed, trimmed and then the openings reduced to make it all work. After I throw some 1/2" trim along the port edge of the opening I plan to router the flooring out, keep it in once piece, and use that to apply to the hatch covers. Based on your experience, is this a crap approach? I figured it would be easier than trying to match up new planks from scratch? I assume I'm missing something...seems almost too easy
View attachment 140626
I did have to approach this a bit differently because of the Johnny Corners. I needed a gap between the hatch covers, so I built a bridge. The routed edges will follow the "bridge" between the covers.
View attachment 140627
I think that approach will work for Johnny corners. It didn’t for me since I needed a tight gap so I used new boards. I started to try and match planks and grain but gave up, if I focus on it I get a little annoyed but it made it easier to start with new. Our pattern is busy enough that it blends a bit
View attachment 140628
I wouldn't have noticed the plank alignment if you didn't mention it.
I've come back to your photos several times. I like how your two mid hatch covers meet, I really wanted that look but the Johnny's make it impossible. I really struggled with what to do there.
Thanks for the feedback. I'll probably hit the router next weekend. What's the worst that could happen
haha yea. I just edited the post and added a bit….get ready for a mess
I feel like I'm already making a huge mess. I've been using the mid-cabin area to make all of my cuts. But bits and pieces are everywhere at this point. Glad to hear I'm about to make an even bigger mess.
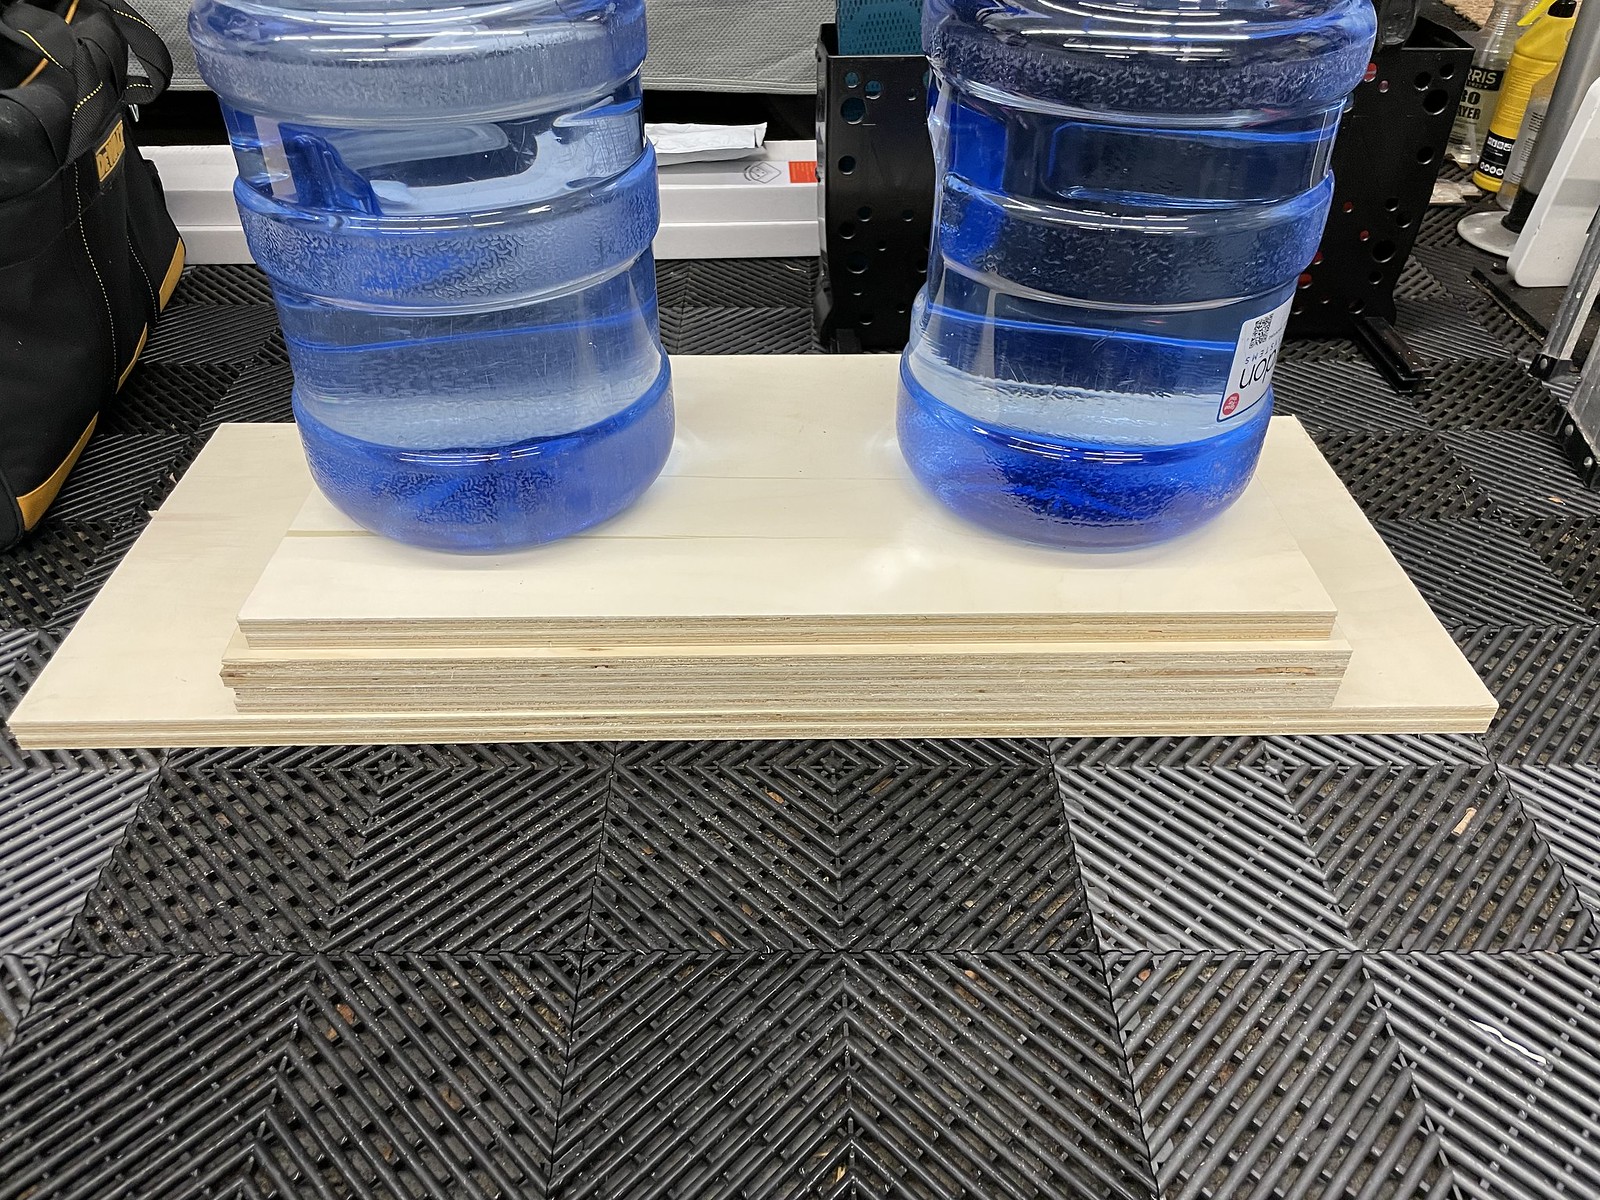
Thanks for the tip on the cutting. I was thinking about taping them across the top. I could also put some weight on the non-hatch sides as well. I don't have the covers under there right now, I didn't want them to interfere with the router. Hmm...
That looks like something that should have bee removed before installation or at least at new dealer prep.Pulled out benches out to get them home and really clean before the season starts…gross underneath. Best I can tell the plastic is from when the boat was prepped at the factory and has been sitting under there for 20 years gathering dirt. Certainly one of those jobs that no one but me will know was done but I’ll like having a clean seat base, lol
View attachment 140858
Not having any real luck with the search function here. Does anyone have a line on replacement windshield wiper arms? Mine are shot. TIA
Pulled out benches out to get them home and really clean before the season starts…gross underneath. Best I can tell the plastic is from when the boat was prepped at the factory and has been sitting under there for 20 years gathering dirt. Certainly one of those jobs that no one but me will know was done but I’ll like having a clean seat base, lol
View attachment 140858
I just don't look. Outta sight outta mind!Yikes. Under my seats I generally find potato chips, pretzels and sand
https://www.amequipment.com/windshield-wiper-blades
Or any truck stop with a store.
Mine looked like crap, super rusty. I had them sandblasted and painted. They came out fantastic!Yeah, I need the arms, not the wipers. I did find that site previously, but I don't know which interface type to buy and there's 4 types (dry/wet knurled, dry/wet drum).
Can someone explain how the batteries are set up in a 2001 410 Sundancer. New to me boat, I shut off the battery switches in the salon when I winterized. The Starboard battery set are dead, Port seem fine. When I reconnect I get a good spark on Starboard, nothing on Port. Is there something that is wired "on" even when the mains are turned "Off" (like CO2). I bought very expensive AGM replacements and want to make sure I don't drain them down if parked for a long time without shore power or when winterzed. Thanks.
Can someone explain how the batteries are set up in a 2001 410 Sundancer. New to me boat, I shut off the battery switches in the salon when I winterized. The Starboard battery set are dead, Port seem fine. When I reconnect I get a good spark on Starboard, nothing on Port. Is there something that is wired "on" even when the mains are turned "Off" (like CO2). I bought very expensive AGM replacements and want to make sure I don't drain them down if parked for a long time without shore power or when winterzed. Thanks.